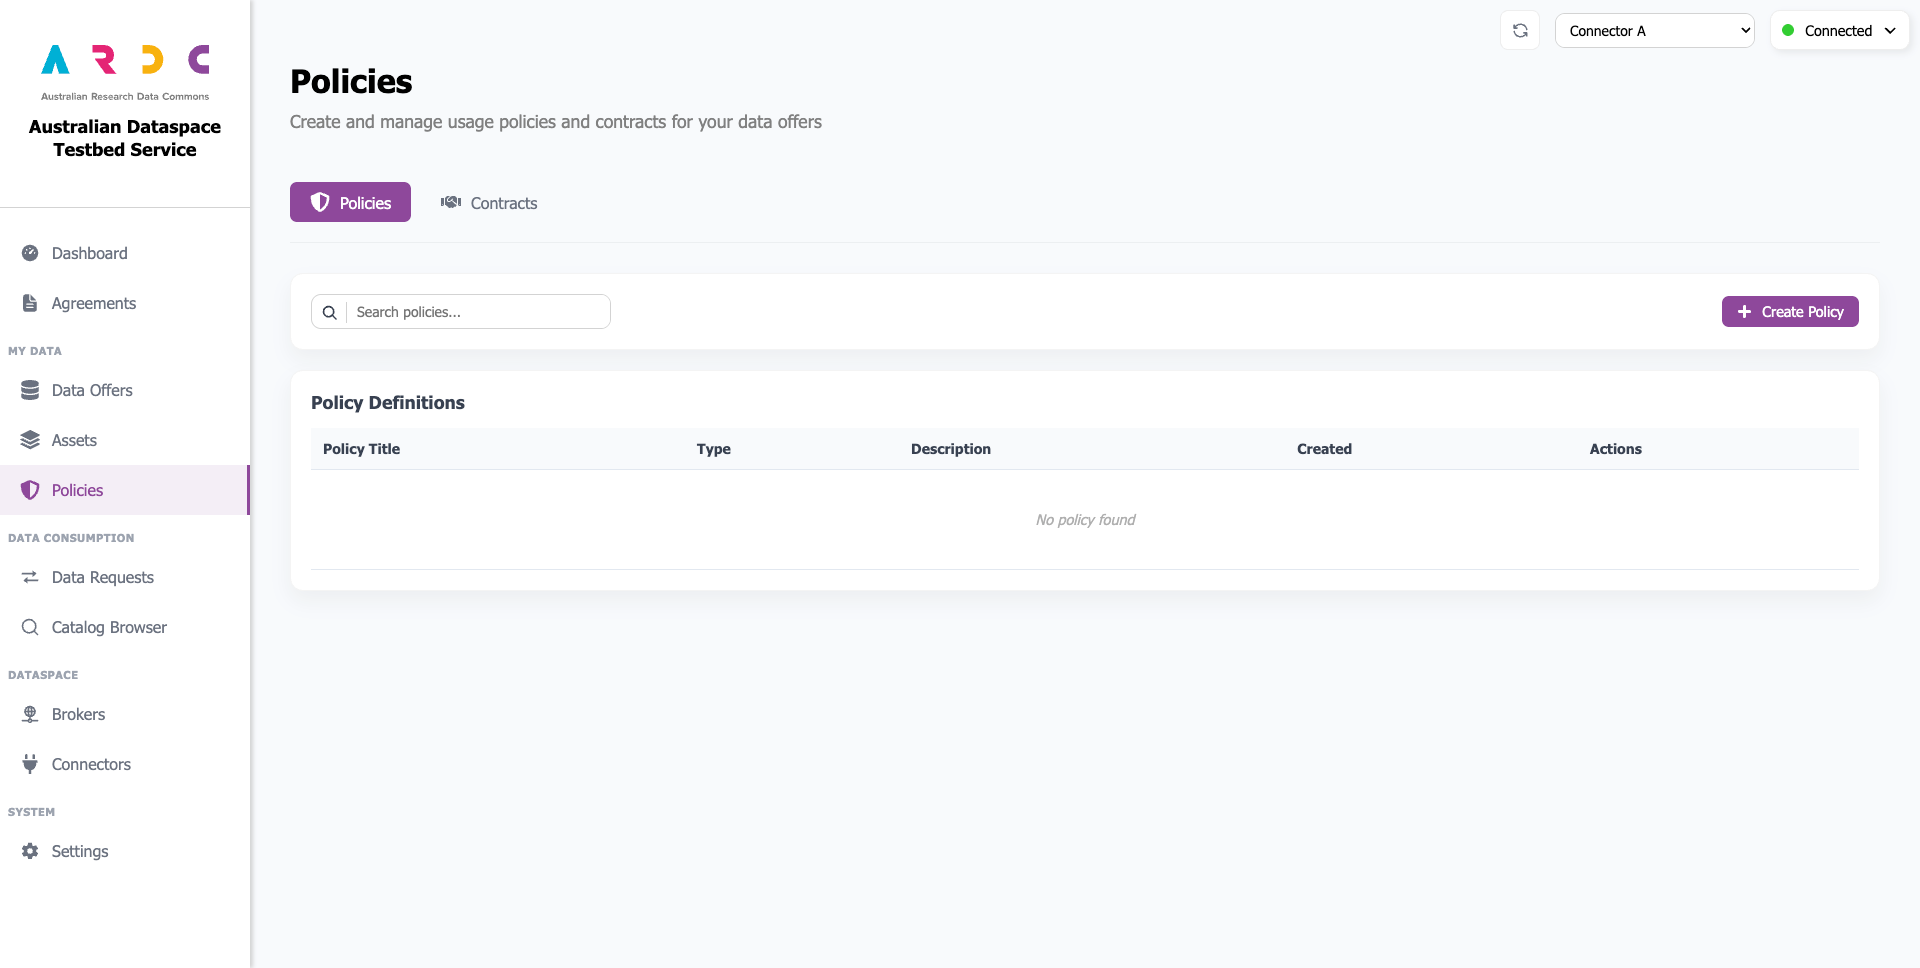
3.2.6 Policies
The Policies page contains two tabs:
Policies - Create, view, and manage your policies (rules)
Contracts - Create, view, and manage your contracts
Manage Policies
To manage your policies, navigate to the Policies tab.
Create Policy
Click the Create Policy button to open a popup window.

Enter the policy title and description, then select a policy pattern from the dropdown list. Complete any additional fields if present.
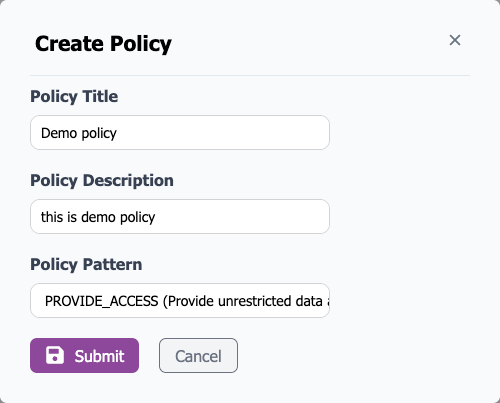
After completing all fields, click the Submit button to create the policy.
View Policy
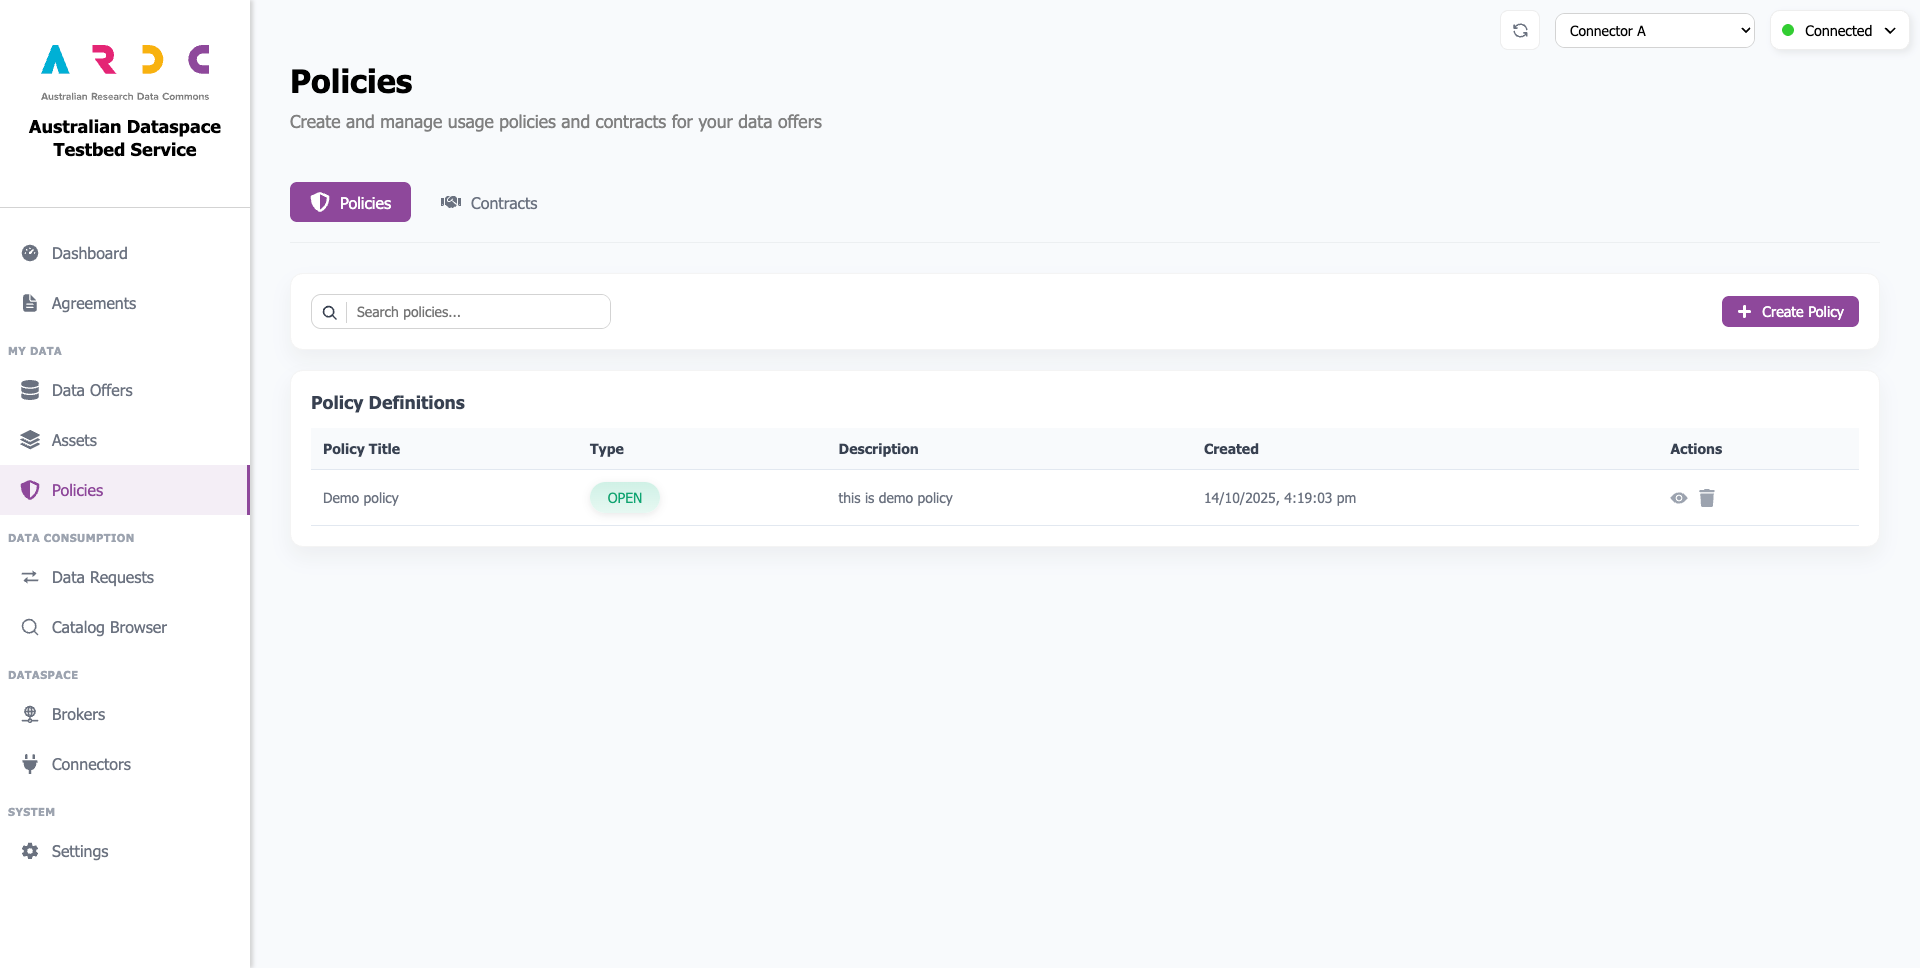
The preview table displays basic policy information. To view details, associations, and the policy in JSON format, click the view button in the Actions column.
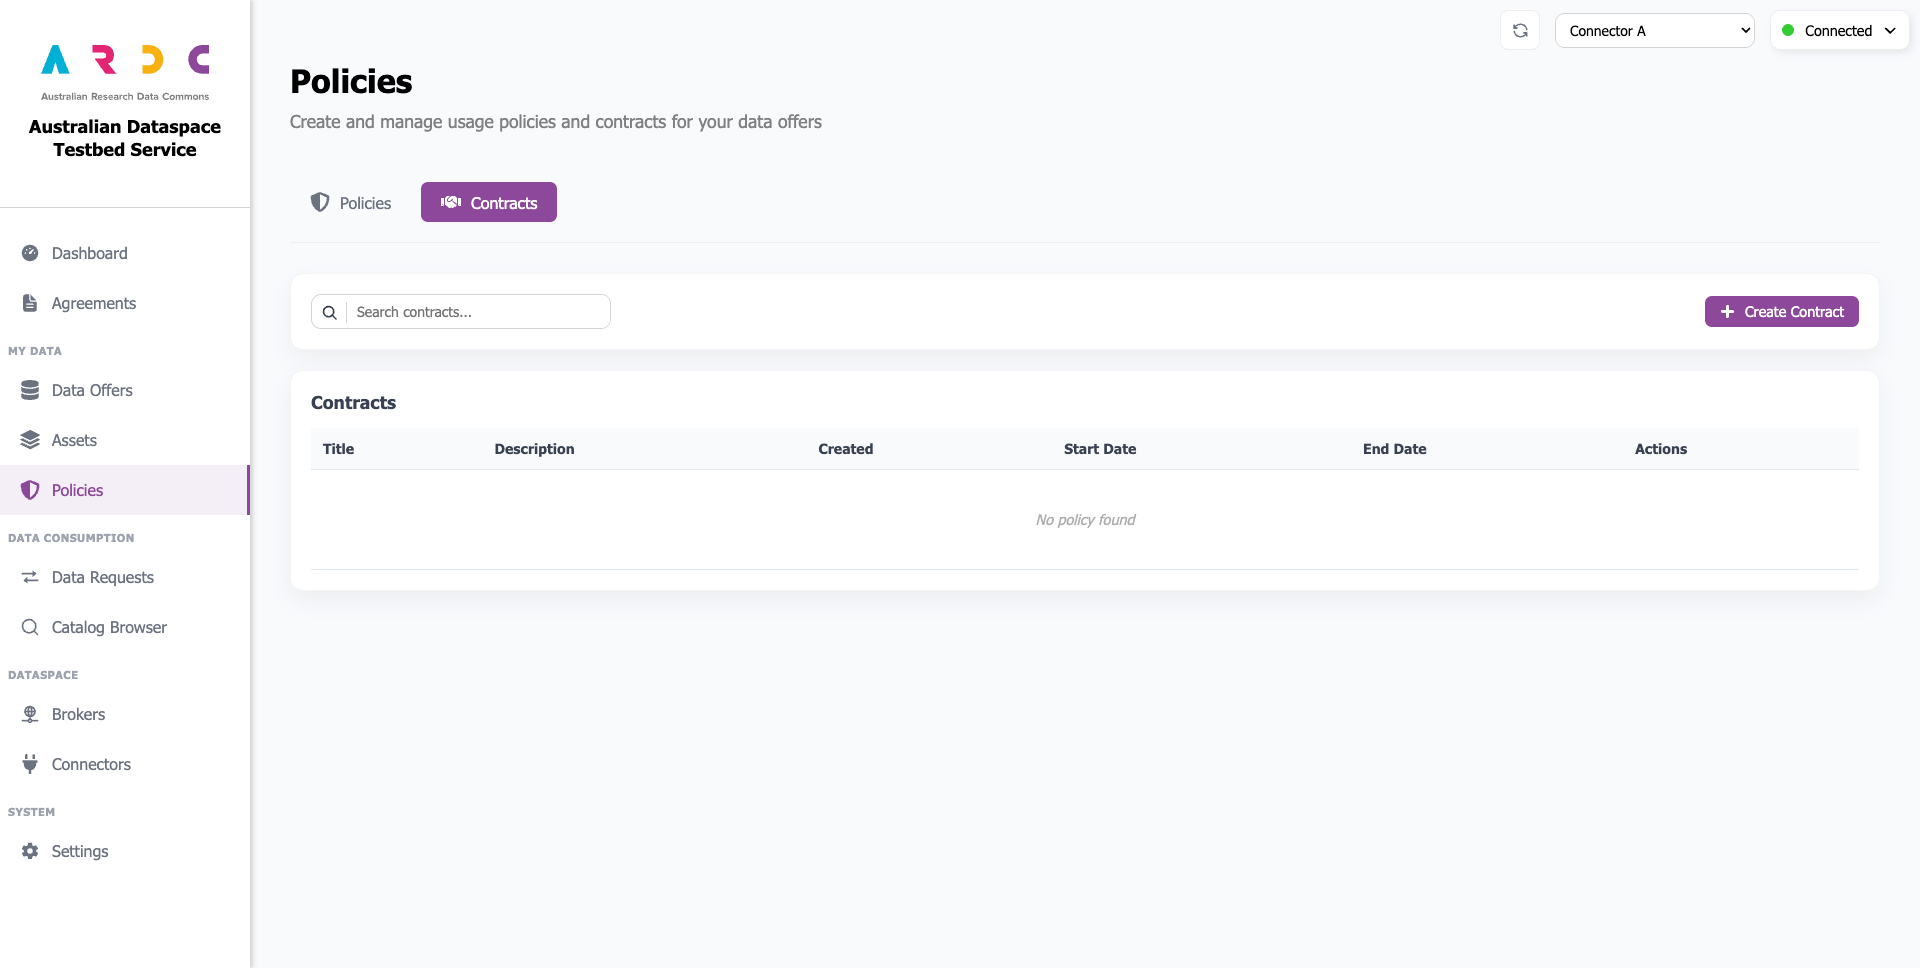
Manage Contracts
To manage your contracts, navigate to the Contracts tab.
Create Contract
Click the Create Contract button to open a popup window.

Enter the contract title and description. Set the contract start and end dates by selecting dates from the calendar. Consumer and Provider are optional fields; when specified, the contract applies only to the specified connectors.
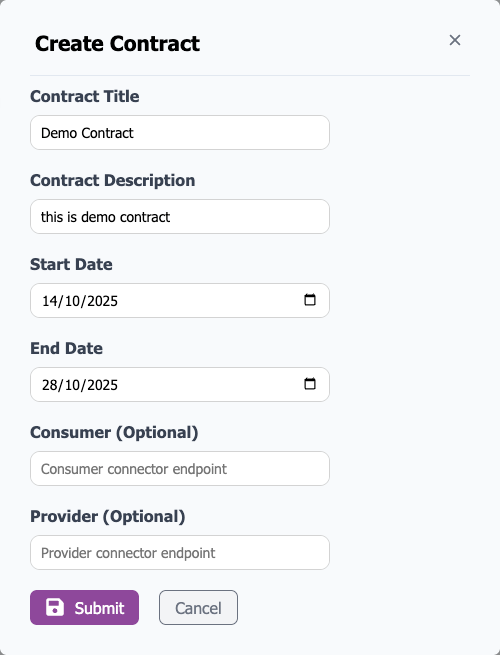
Note
When selecting a date, the time is set to midnight in your timezone. For example, if the date is 14/10/2025 and you are in AEDT, the UTC date the connector receives when creating the contract will be 13/10/2025, 13:00:00.
After completing all fields, click the Submit button to create the contract.
View Contract
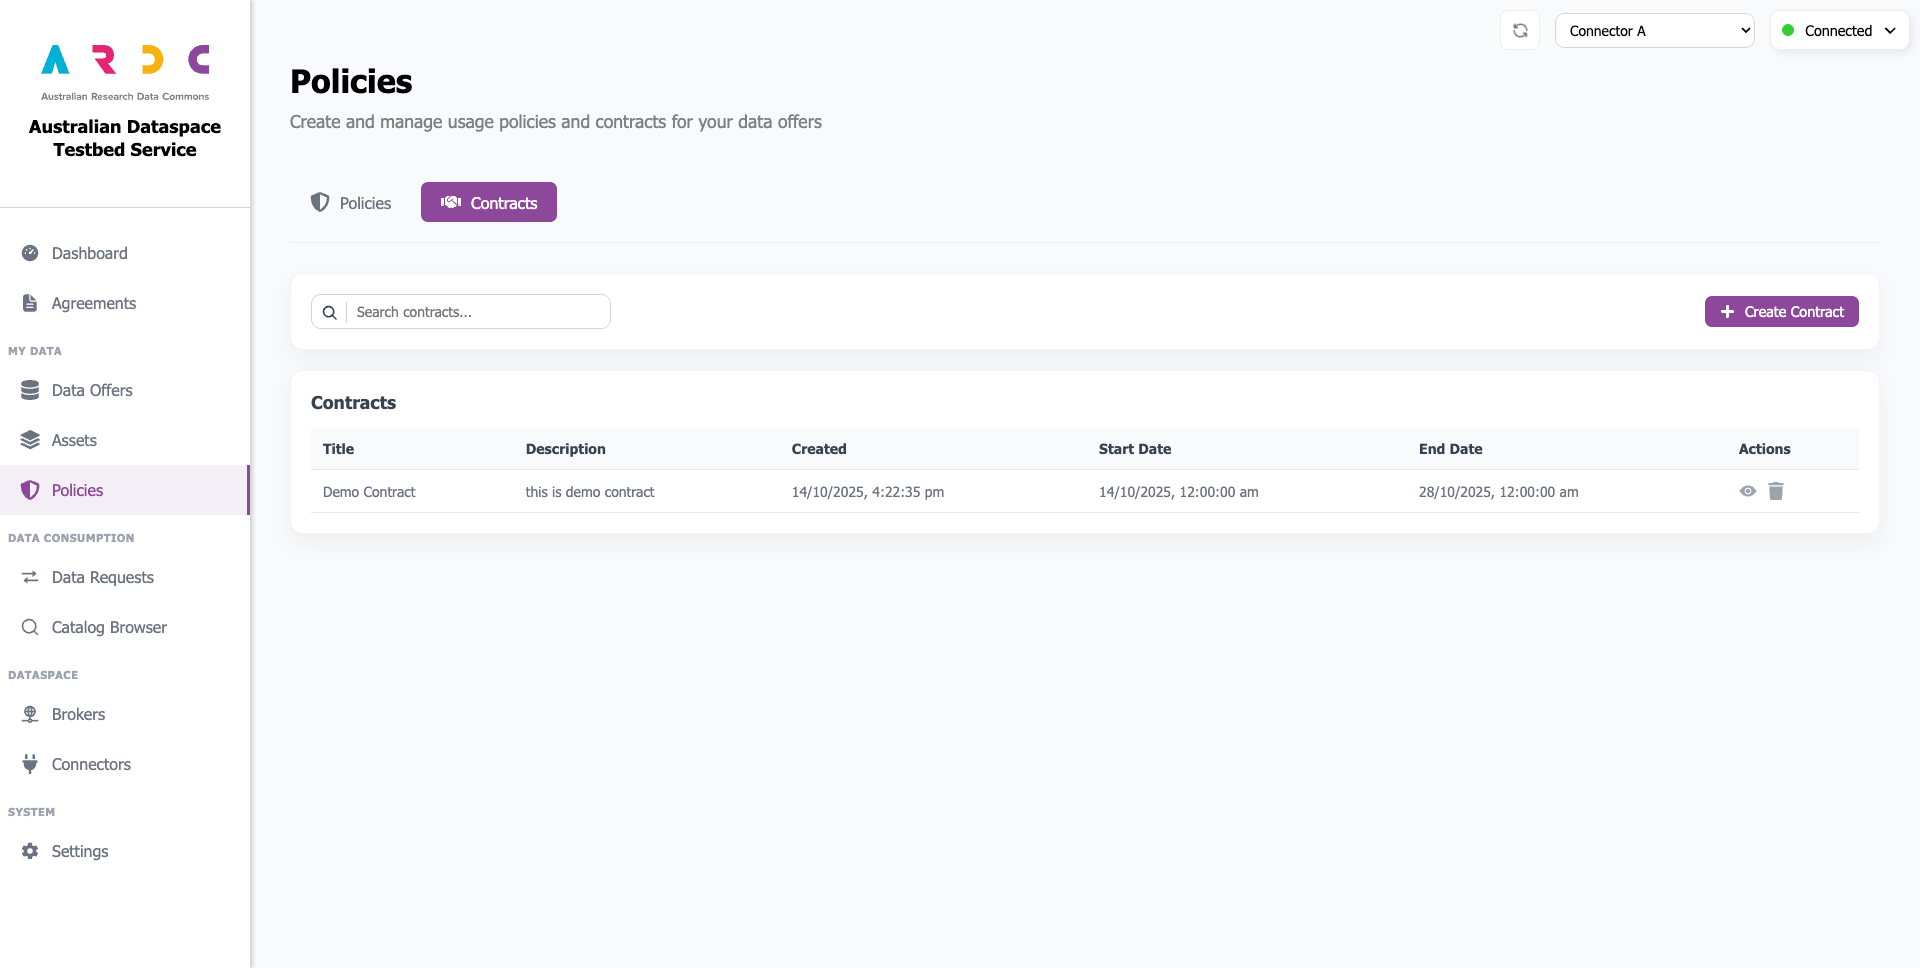
The preview table displays basic contract information. To view details and associations, click the view button in the Actions column.