3.3.1 Create a Data Offer
This guide demonstrates how to create and publish a data offer in your dataspace. You will create a resource with associated metadata, assets, and policies, then register it with a metadata broker to make it discoverable by other connectors.
To create a resource to offer, follow the steps below:
Part 1: Create a Data Offer
-
Navigate to the Data Offers page and click the Create Resource button to open the wizard.

-
Complete Metadata Fields
Begin by entering your resource’s metadata into the provided fields. The resource title and keywords fields are mandatory, while all other fields are optional.
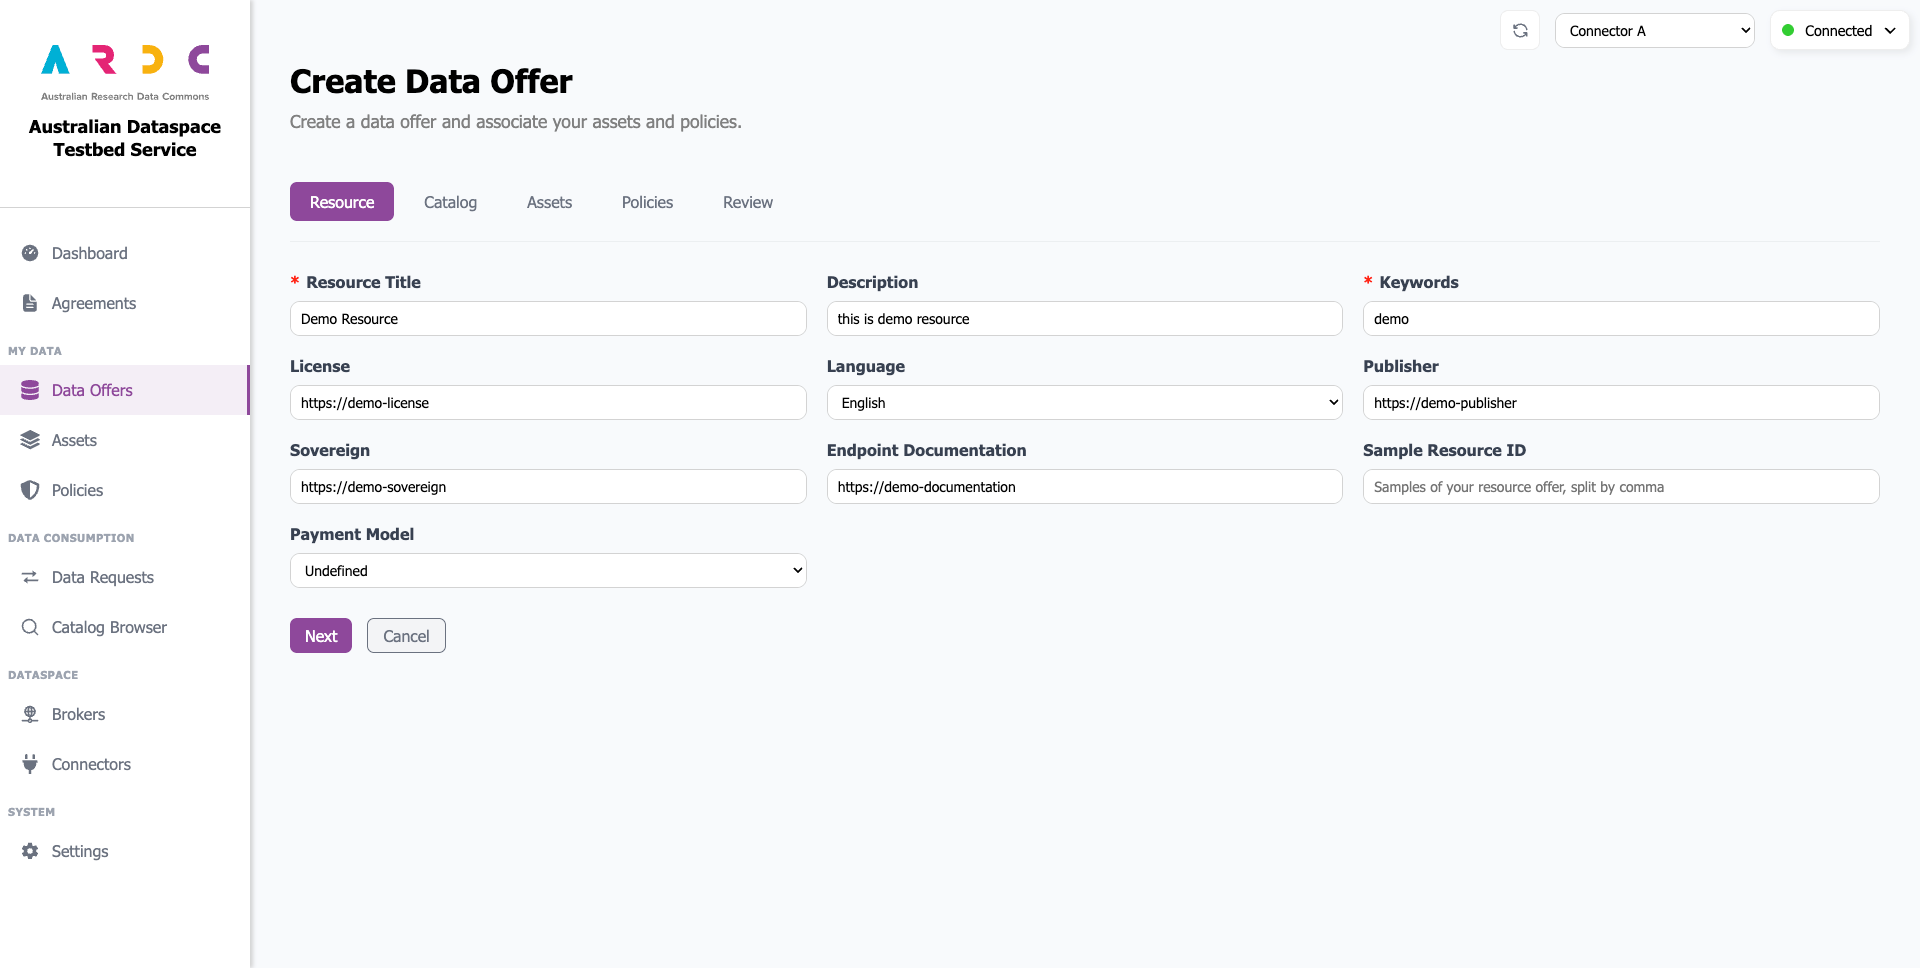
Once complete, click the Next button to proceed.
-
Associate with a Catalog
Next, you need to associate your resource with a catalog. Select an existing catalog from the list, or create a new one by clicking the New Catalog button.
For more details about catalog creation and management, refer to the Catalog component documentation.
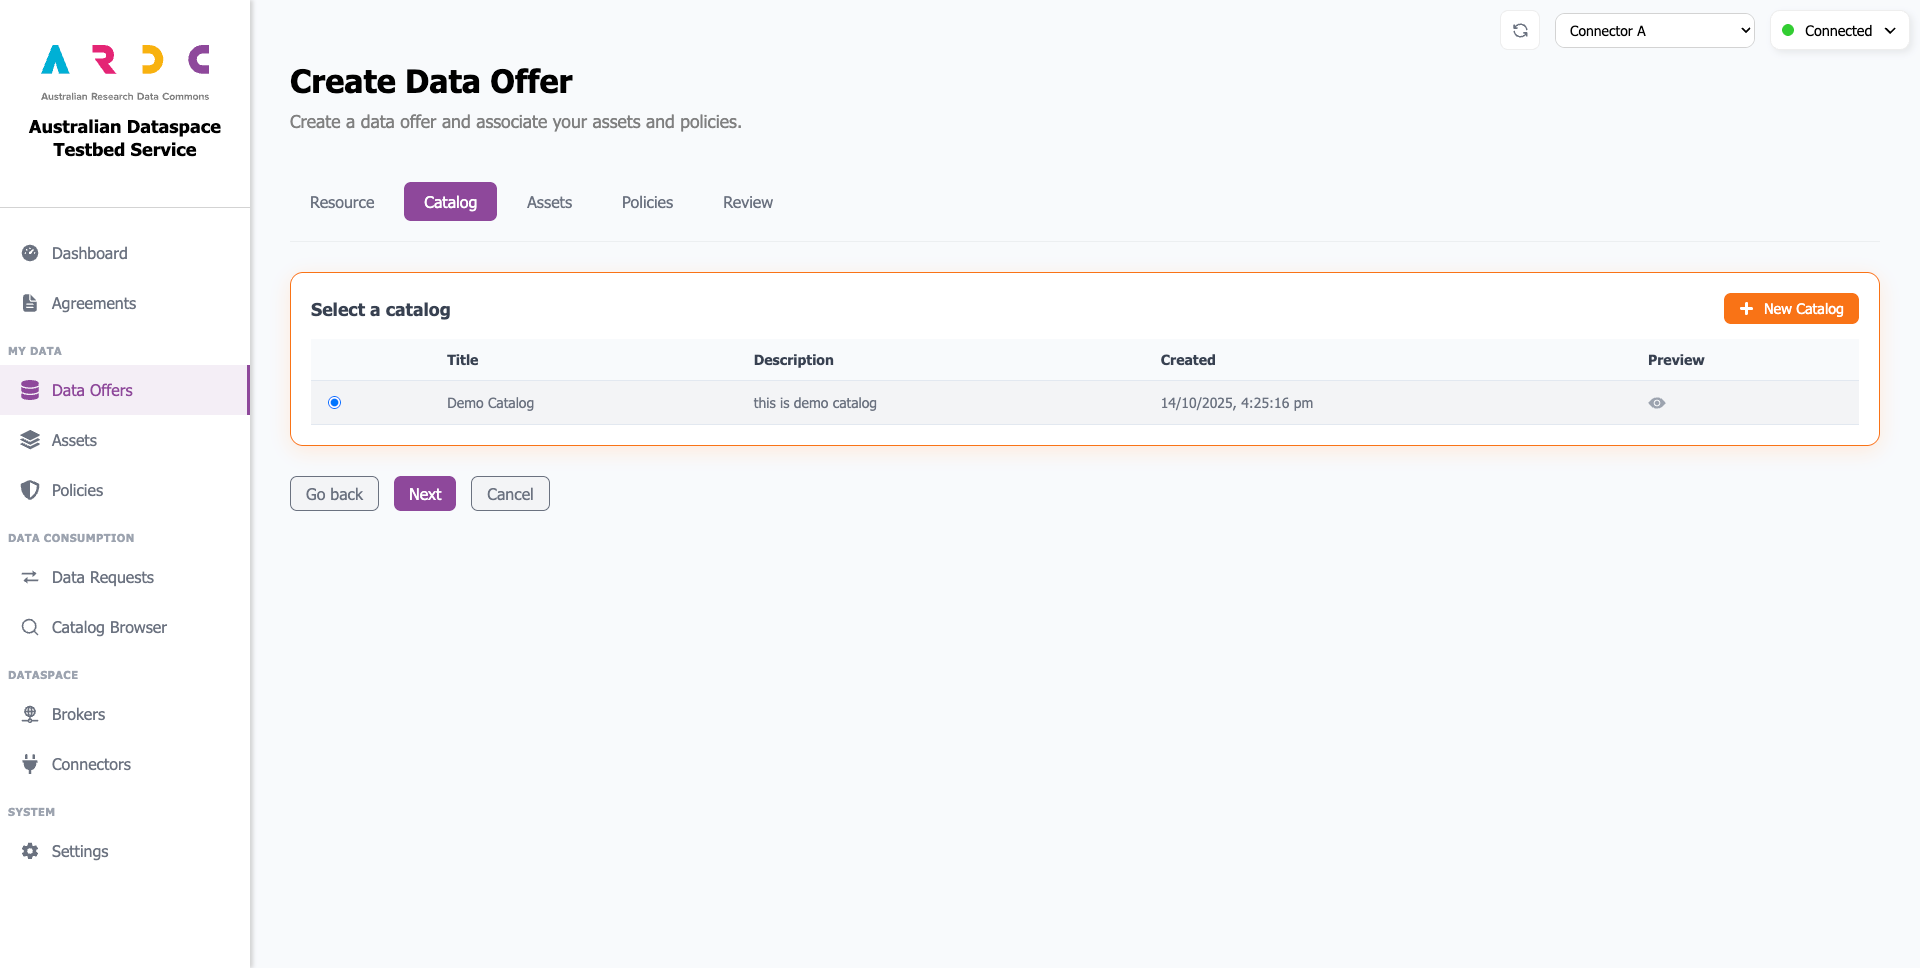
After selecting your catalog, click the Next button to continue.
-
Associate Assets with the Resource
Now you need to add the actual data assets that your resource will offer to other connectors. Select existing assets from the list, or create new ones by clicking the New Asset button to define what data you want to share.
For more details about creating assets, refer to the Create Asset documentation.
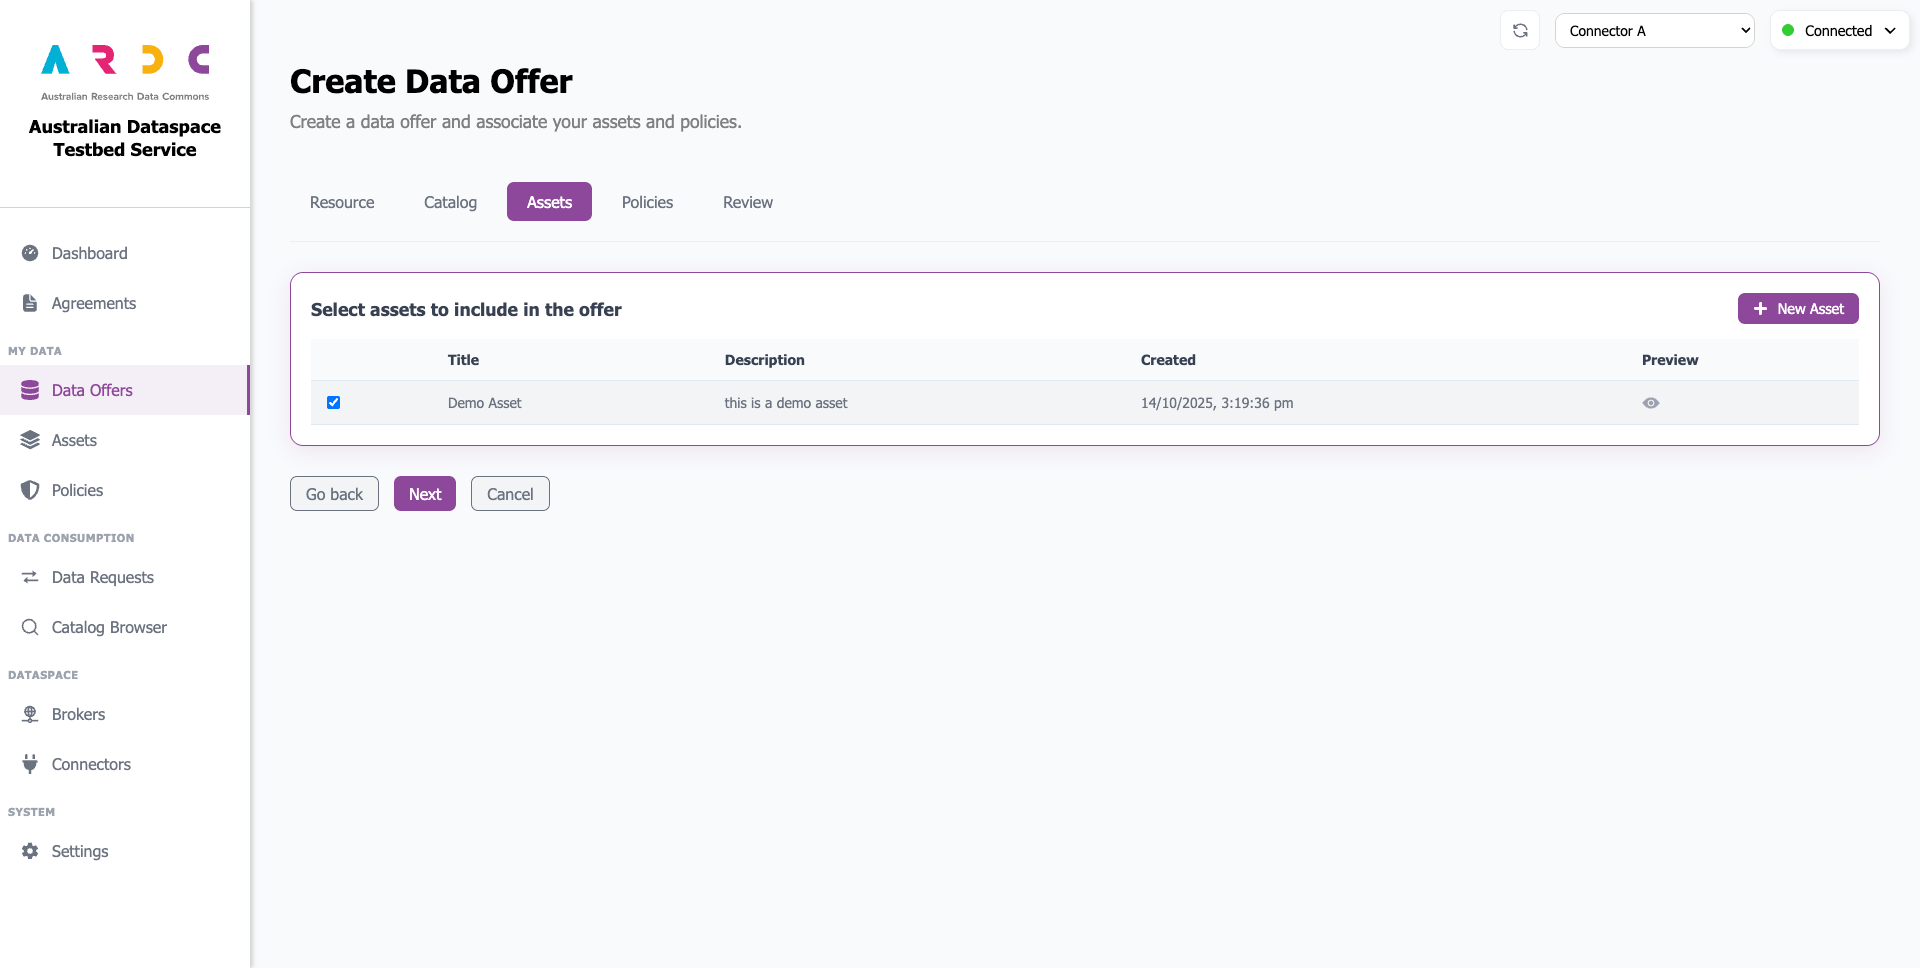
After adding your assets, click the Next button to proceed.
-
Attach Policies and Rules
Next, you need to define a contract and the associated policies (rules) you want to enforce on your data. First, select or create a contract that defines the start and end dates for your resource offer. Then, attach (or create) one or more policies to your contract that specify the usage rules and restrictions.
For more details, refer to Create Policy and Create Contract.
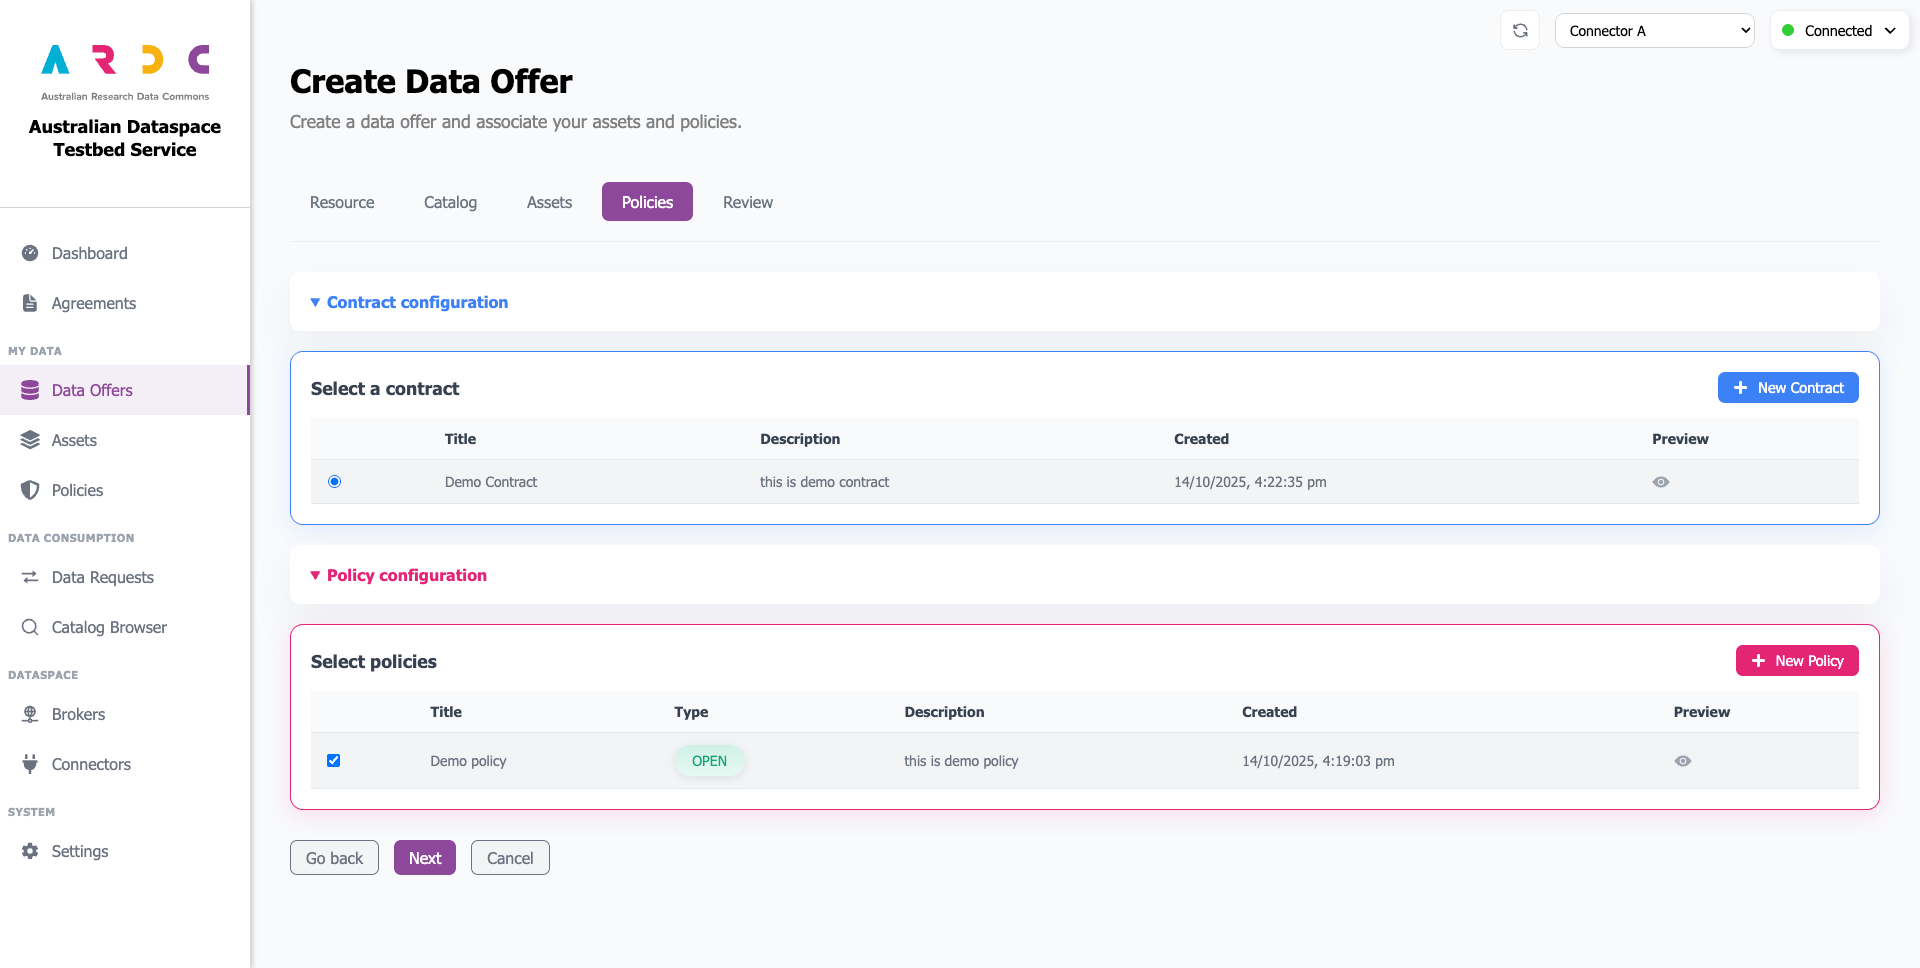
Once you’ve configured your contract and policies, click the Next button to continue.
-
Review Your Resource Offer
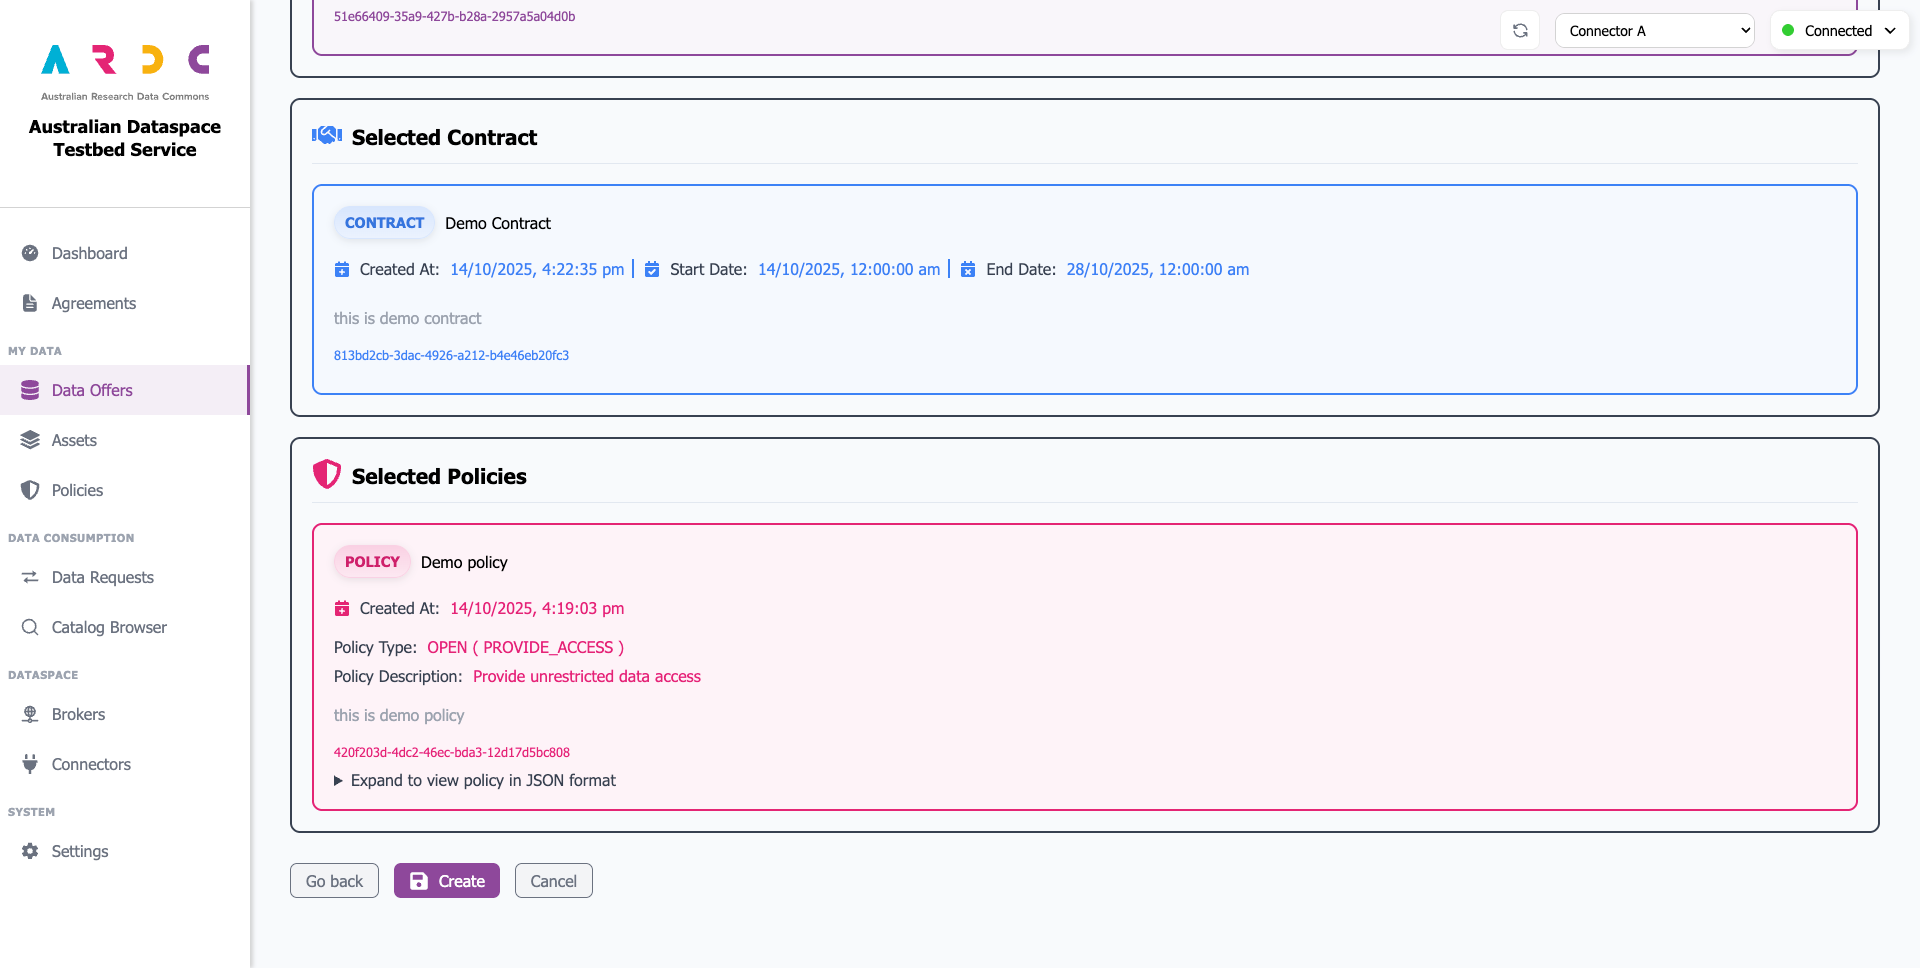
Finally, review all the details of your resource offer, including the associated catalog, assets, contract, and policies.
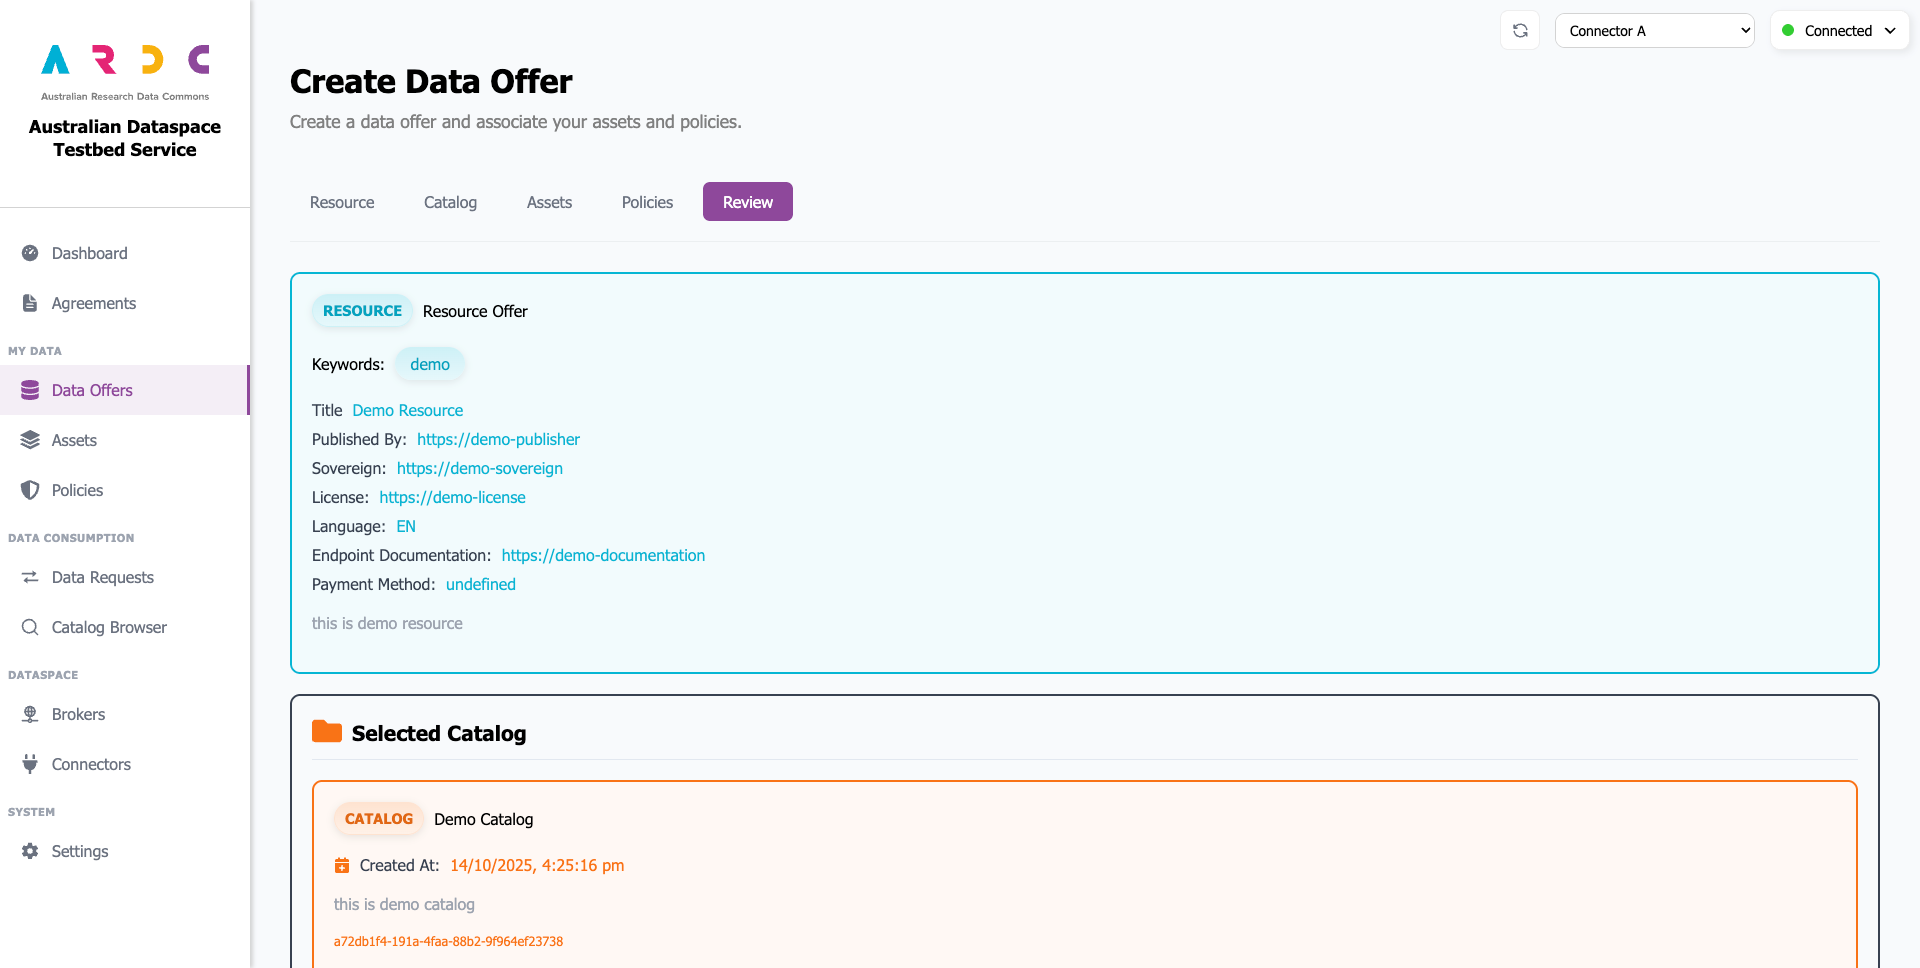
Carefully review all details before proceeding. If you need to make changes, click the corresponding tab or use the Go Back button to navigate between steps.
When you’re satisfied with your configuration, click the Create button.
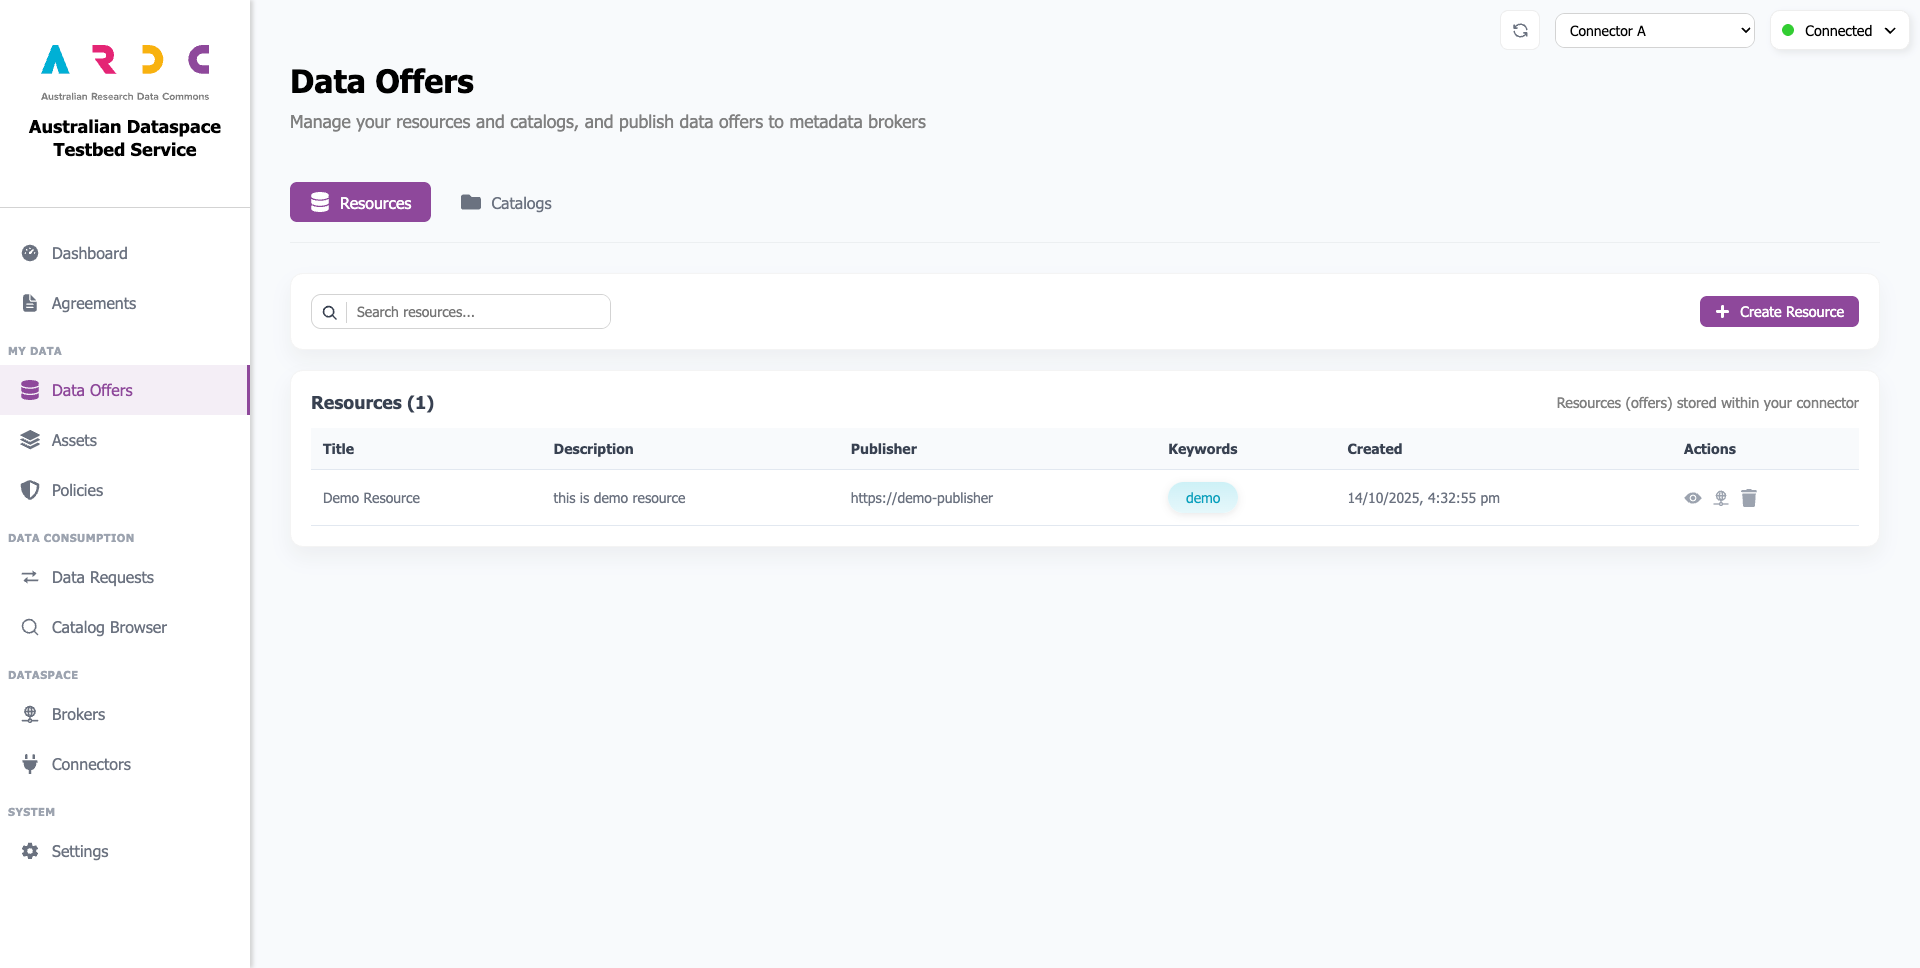
The dashboard validates input fields and creates associations between dataspace components. Once complete, the created resource appears in the table with confirmation feedback.
Part 2: Offer Your Resource at Metadata Broker
Before you begin!
Before this step, ensure the catalog you selected for your resource has been registered at the metadata broker where you want to offer it. Refer to Register / Update Connector at a Broker.
-
To make your resource discoverable by other connectors, you need to register it with a metadata broker. Click the register button in the Actions column for your newly created resource.

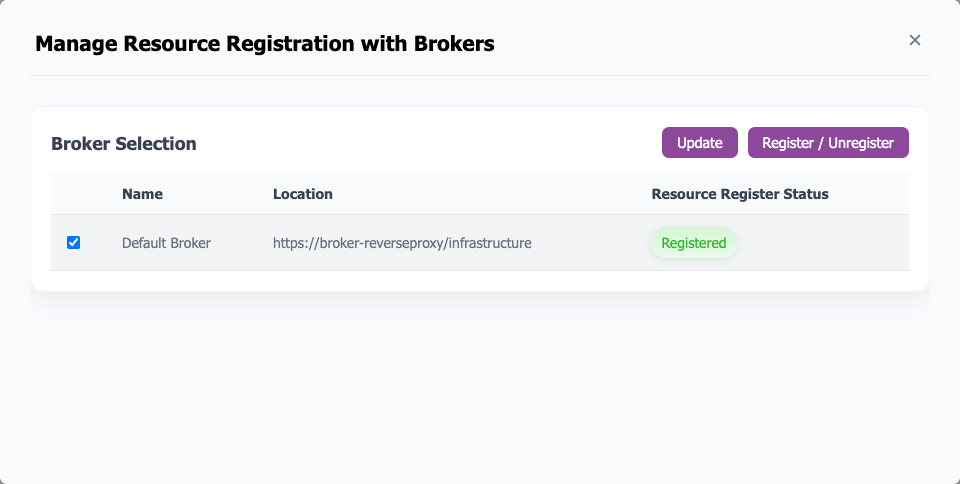
A popup window opens displaying the selected resource’s registration status with brokers, providing options to register, deregister, or update the resource at the metadata broker.
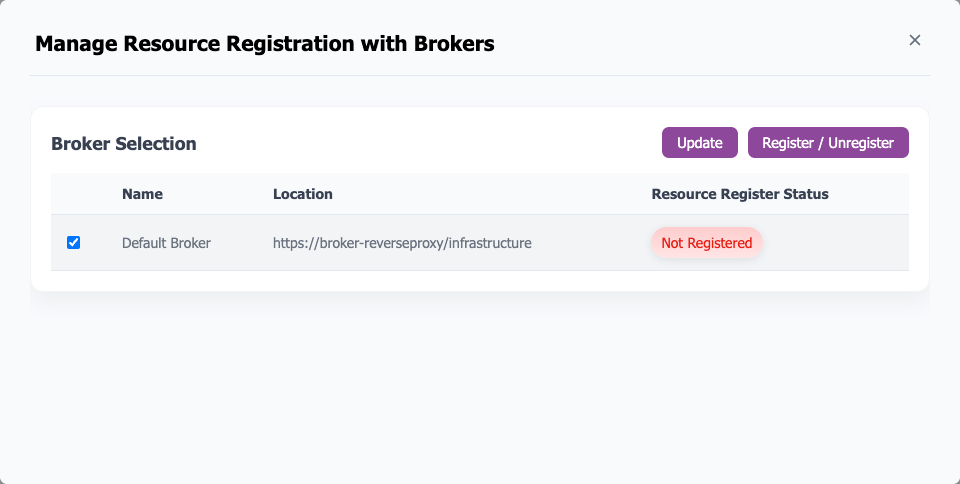
-
In the popup window, select the brokers you want to register your resource with. If only one broker exists in your connector, it will be automatically selected. Click the Register / Unregister button to register your resource with the selected brokers.
Once a resource is registered with a metadata broker, it will show in searches performed in the Catalog Browser from any connector registed with the same broker.
You can now proceed to the Requesting a Data Offer guide, either from the same dashboard/connector or another instance.