2.4 Setup/Run a Data Transfer
Prerequisites:
This tutorial uses Postman GUI. Please follow the steps in Setup Postman GUI first.
Prepare your data
After importing the original Testsuite files, you will need to modify some requests to transfer your data between the sample connectors A and B.
- Expand the
Testsuite / Connector / Set-upfolder in left panel:
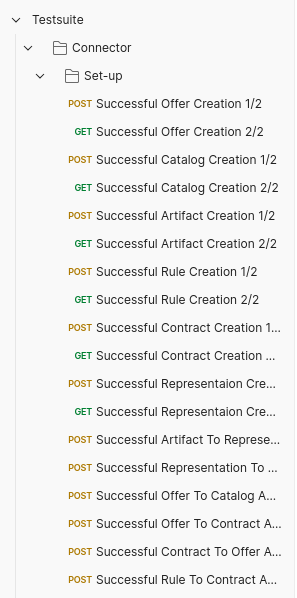
-
Prepare your Artifact
From the list, select the
Successful Artifact Creation 1/2POST test, then navigate to the Body tab and select raw to show the POST request’s body.This step is responsible for retrieving a file for use in a data transfer test (i.e. the file you specify will first be downloaded, and later transferred from connector A to B). Replace
title,description,accessUrlandautomatedDownloadto a file of your choice, whereaccessUrlis the link to download the data. It can be any publicly accessible file on the web.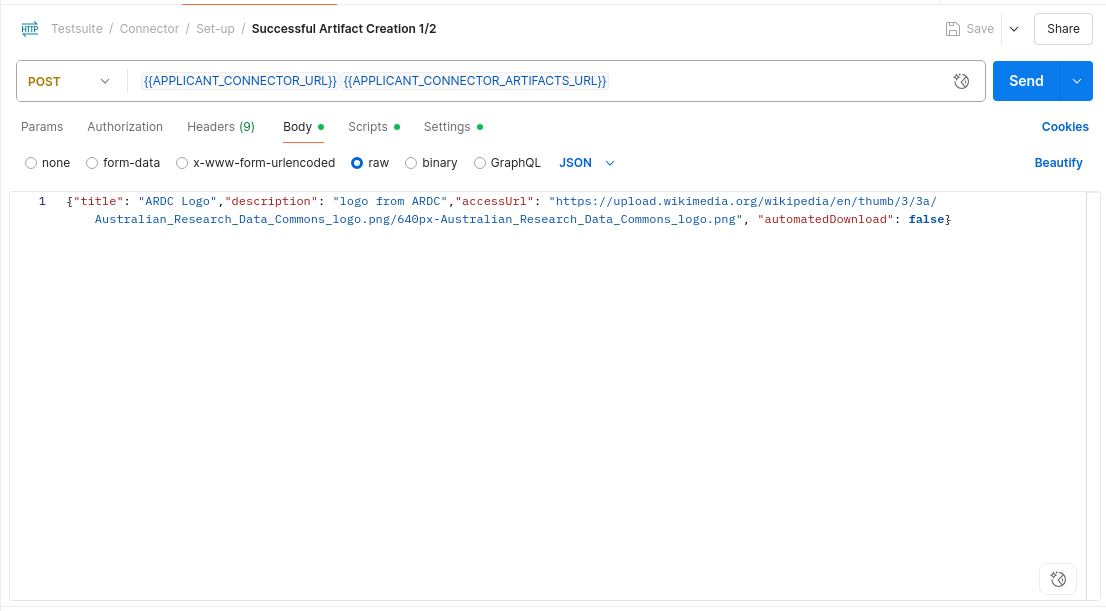
-
Prepare your Representation
From the list, now select the
Successful Representation Creation 1/2POST test, then navigate to the Body tab and select raw to show the POST request’s body.This step is responsible for specifying the file metadata. Replace
title,description,mediaTypeandlanguageto represent the artifact you just created:Artifact Properties title is the title of your object. For example, “Representation of the ARDC logo” description is the description of your object. You can also leave this blank. mediaType must be the media type of the Real Data, for example, if the data is json file, then it will be application/json; If the data is a PNG file, then it will beimage/png. You can find some common MediaType values at the MDN Website.language must start with https://w3id.org/idsa/code/ followed by the language code, for example https://w3id.org/idsa/code/EN for English. 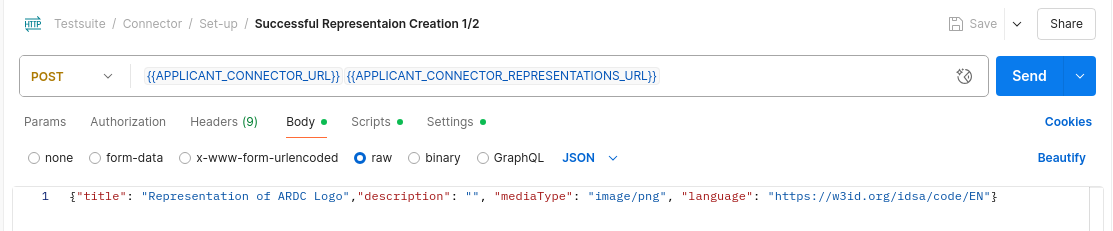
-
Prepare your Offer and Contract
From the list, navigate to the
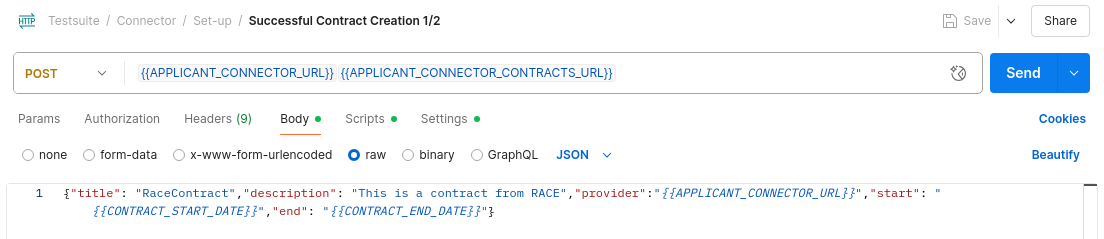
Successful Offer Creation 1/2andSuccessful Contract Creation 1/2POST tests, then open the Body tab and select raw to show the body for each.Offer Format

Contract Format
-
Prepare your Policy
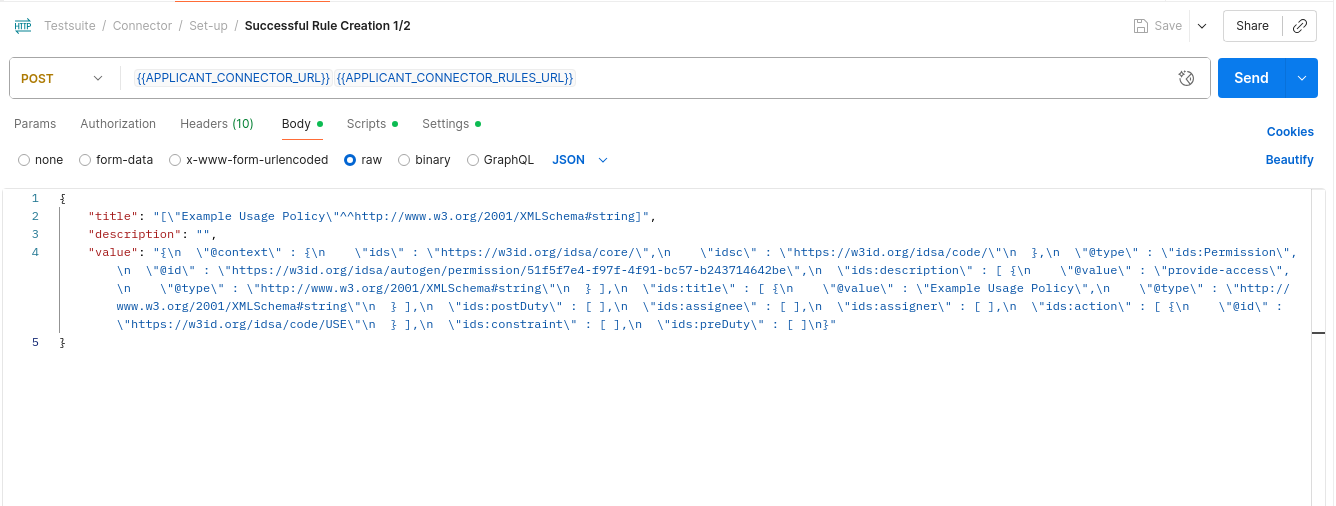
From the list, navigate to the
Successful Rule Creation 1/2POST tests, then open the Body tab and select raw to show the body for each.This step is responsible for specifying the usage rule of data. It can be specified to strict how the data can be used.
-
Prepare your Catalog
Go to the
Successful Catalog Creation 1/2test, navigate to Body tab and select raw to show the body. Replace entries according to your requirements. Your catalogs data will be appended to your self description, so that when you register your connector with the metadata broker, other connectors can view your catalog and the available offers.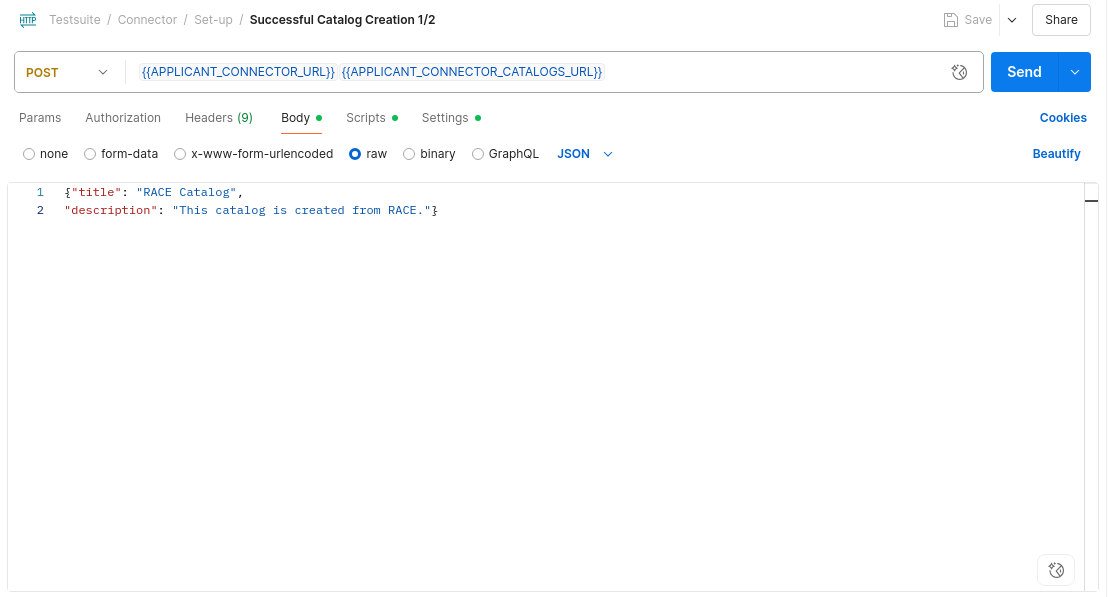
-
Update the check script to see whether changes are applied
Please expand
Testsuite / Set-up / Data Usage Controland find the stepSending of usage policies 4/4. Navigate to the Scripts tab and find Post-response. You will see JavaScript that performs the condition check. This check determines whether your test has passed or not. Inside, you will find the expression:pm.expect(contentType).to.include("image");This shows that the test expects the contentType (media type) to include an image, which matches what we have changed in the Prepare Representation section. If you have configured data that is not an image, you should modify this to your data type now. For example:
pm.expect(contentType).to.include("application/json");If the test now passes, this means that your data has been transferred to the other connector successfully. Below, you will now run a test.
Test the data transfer
After configuring and saving the above settings, you can follow the steps of Running Testsuite to run your own test. You should be able to see the same results as the original test.
Developer Tip
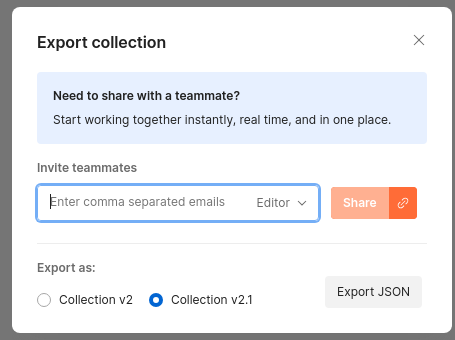
If you want to export your own test and run in CLI, you can choose to export it by going to the menu on the Testsuite folder, then selecting More > Export, and choosing Export JSON at the bottom.
After exporting, you can just point to the exported file and follow the steps from Run dataspace test to test with the CLI.