3.1.2 Configure for a Connector
This page explains how to configure the dashboard for use with a standalone connector deployment.
Generate a Trusted Identity for your Connector
Before you can use your connector, you must generate a certificate bundle for your connector from the testbed you are connecting it to. Follow the steps below to generate an SSL certificate bundle.
-
Navigate to the Settings page of your testbed dashboard (not your connector) from the left navigation:
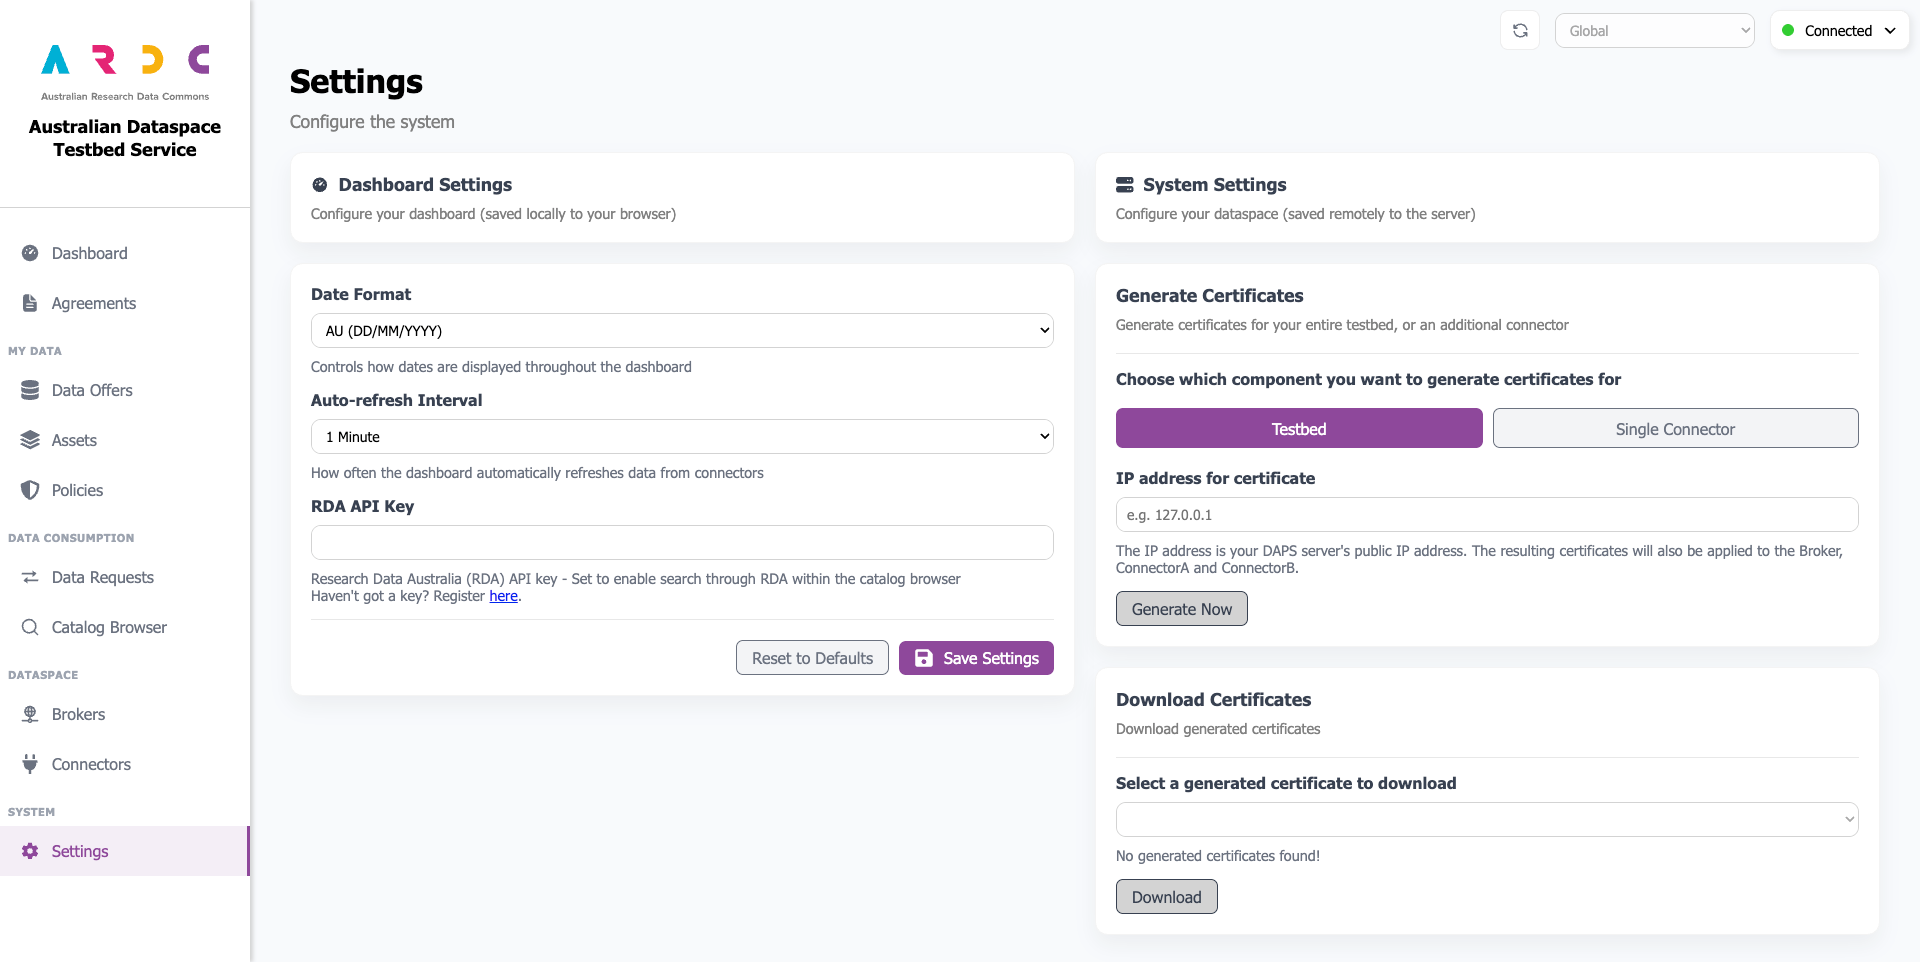
-
Under Generate Certificates, select Single Connector and enter the public IP address of the connector you want to add. You can find this in your browser’s address bar when visiting your connector dashboard, or directly from the Testbed Platform under
Connect–>Use this SSH Keyof your connector (inferring from the public DNS address). Select Generate Now.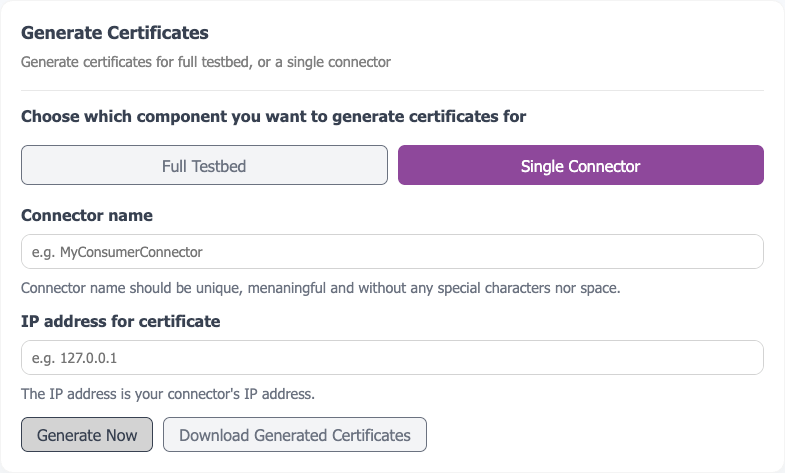
-
Select Continue when prompted. A zip file will be downloaded to your local computer. If this does not occur, you can use the Download Certificates function to retrieve it.
Further information on using the certificate generator can be found here.
The certificate generation process is outlined here.
Launch the Connector Dashboard
-
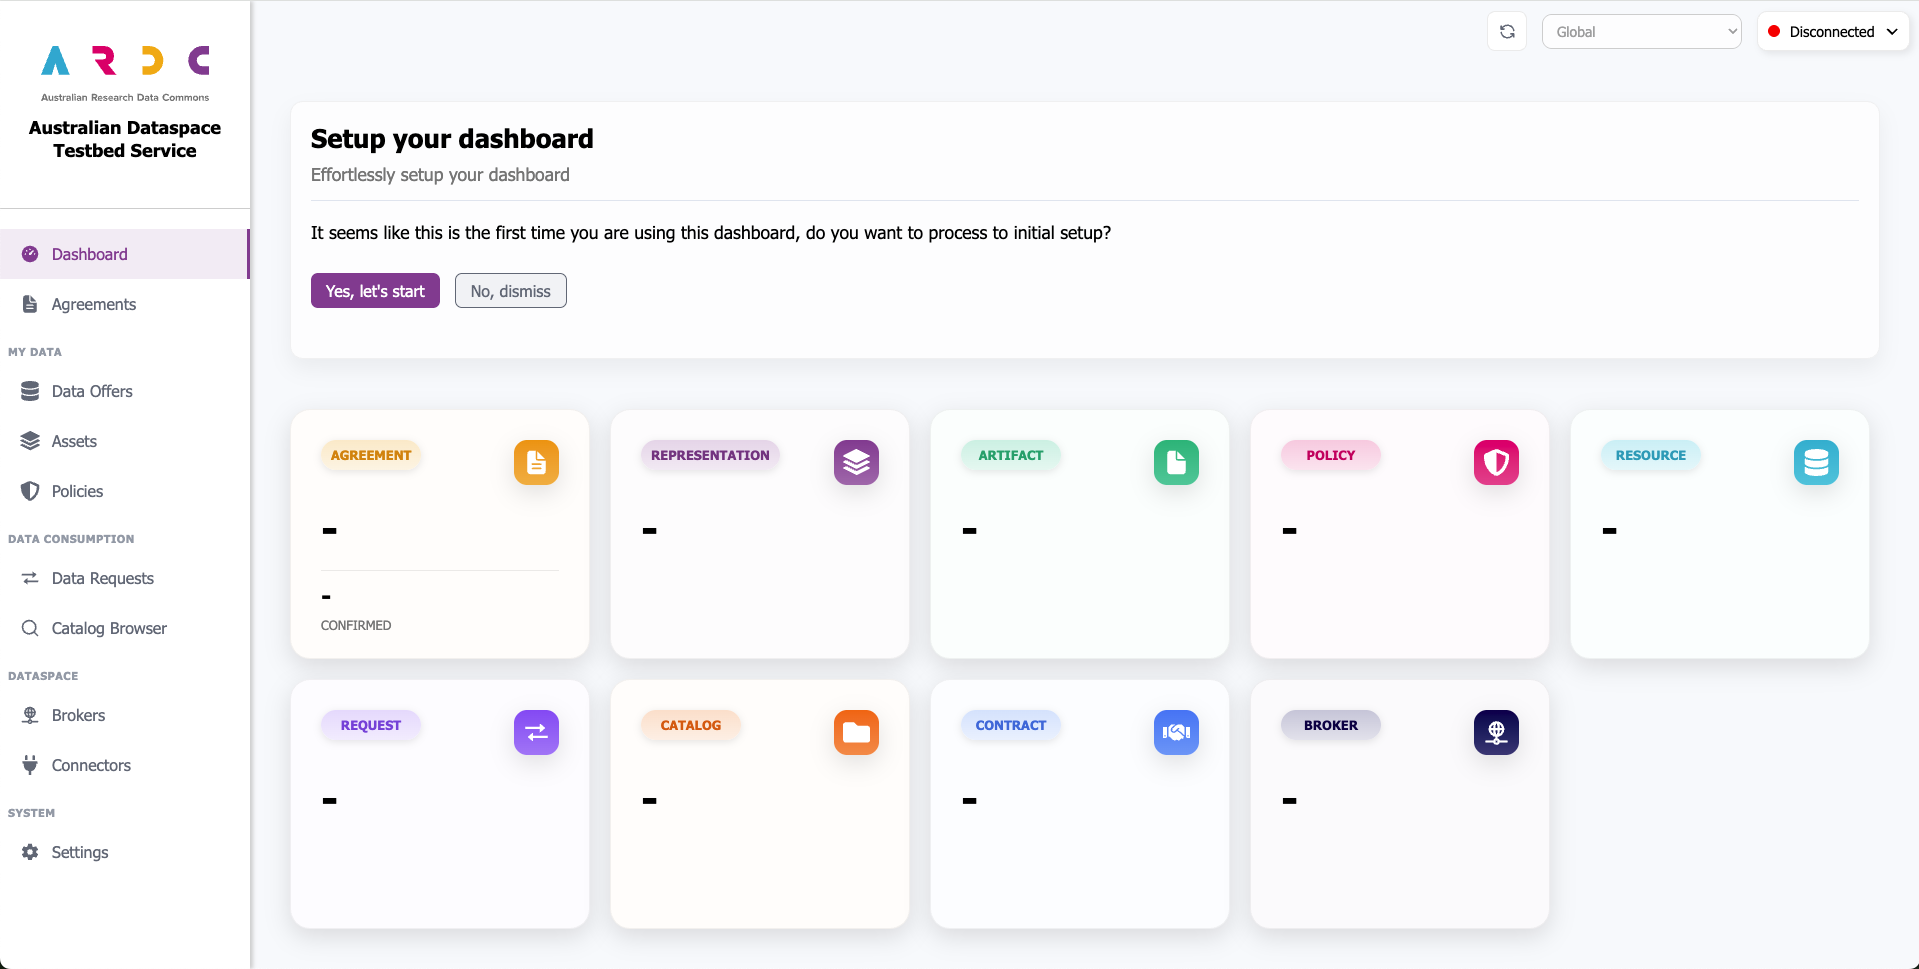
From the main platform, select the Dashboard button to open the built-in dashboard. If you see a connection warning, select proceed.
-
You will be presented with the dashboard landing page and a setup wizard to guide you through the key configuration steps. Click the Yes, let’s start button to begin.
Configure using the Quick Setup Wizard
Note
A standalone connector supports the creation of resources without connecting to a broker; however, it can only share data and request resources from other connectors once linked to a full dataspace testbed.
Before you begin…
Ensure you have the public IP of the testbed you are connecting your connector to. You will also need to add the public IP of your connector to your port 443 testbed security group. See Updating your IP address whitelist for further guidance on this.
-
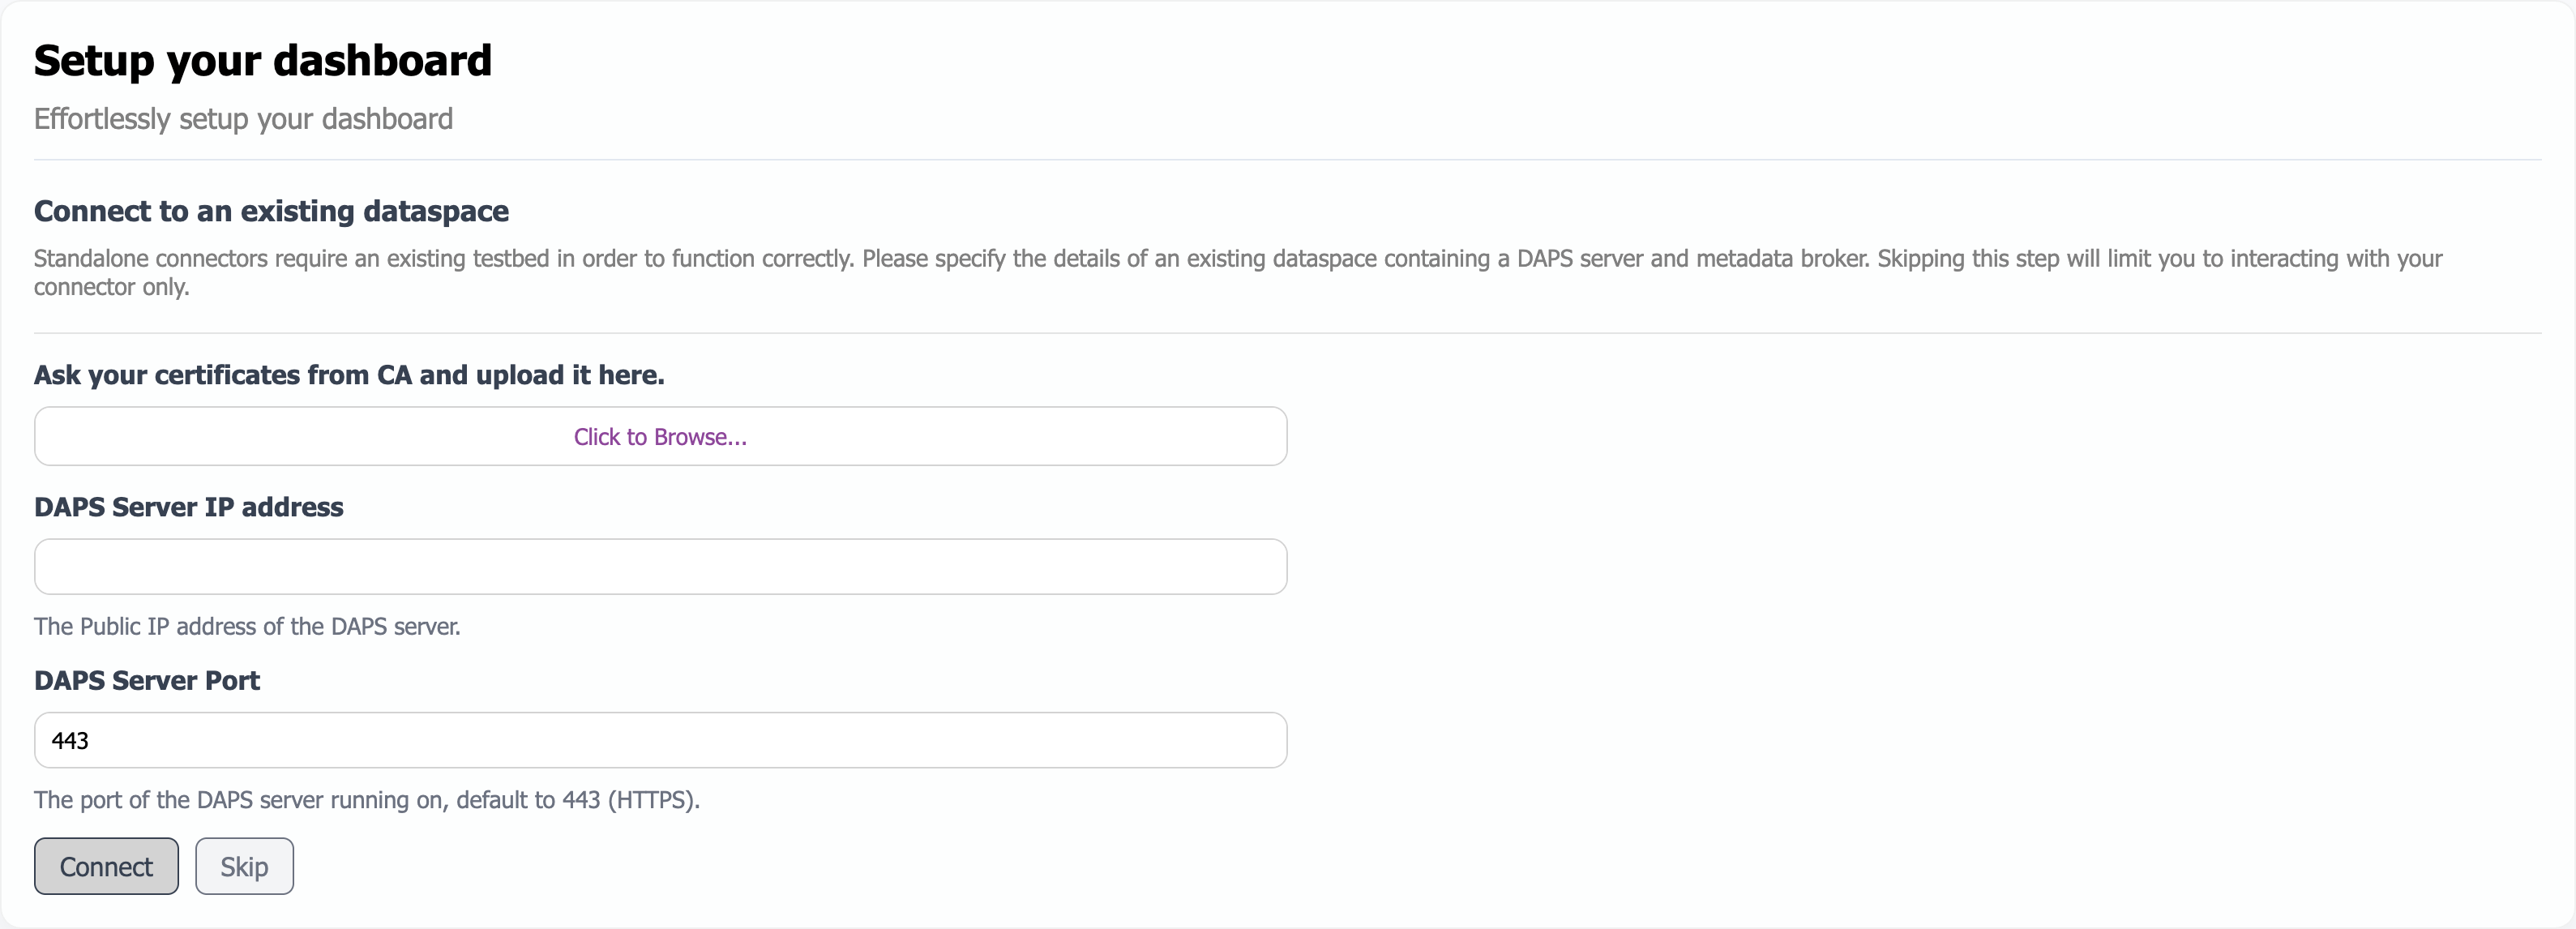
Page 1: Upload your connector certificates, enter the public IP and port of the target dataspace, then select Connect. The backend will install the certificates and prompt you to refresh. The dashboard will go offline briefly while loading the new certificates. You will see the insecure connection warning again—this is normal and indicates success.
Heads Up!
If you receive a 502 Internal Server Error after refreshing, wait another minute and try again. The backend is still processing your request.
-
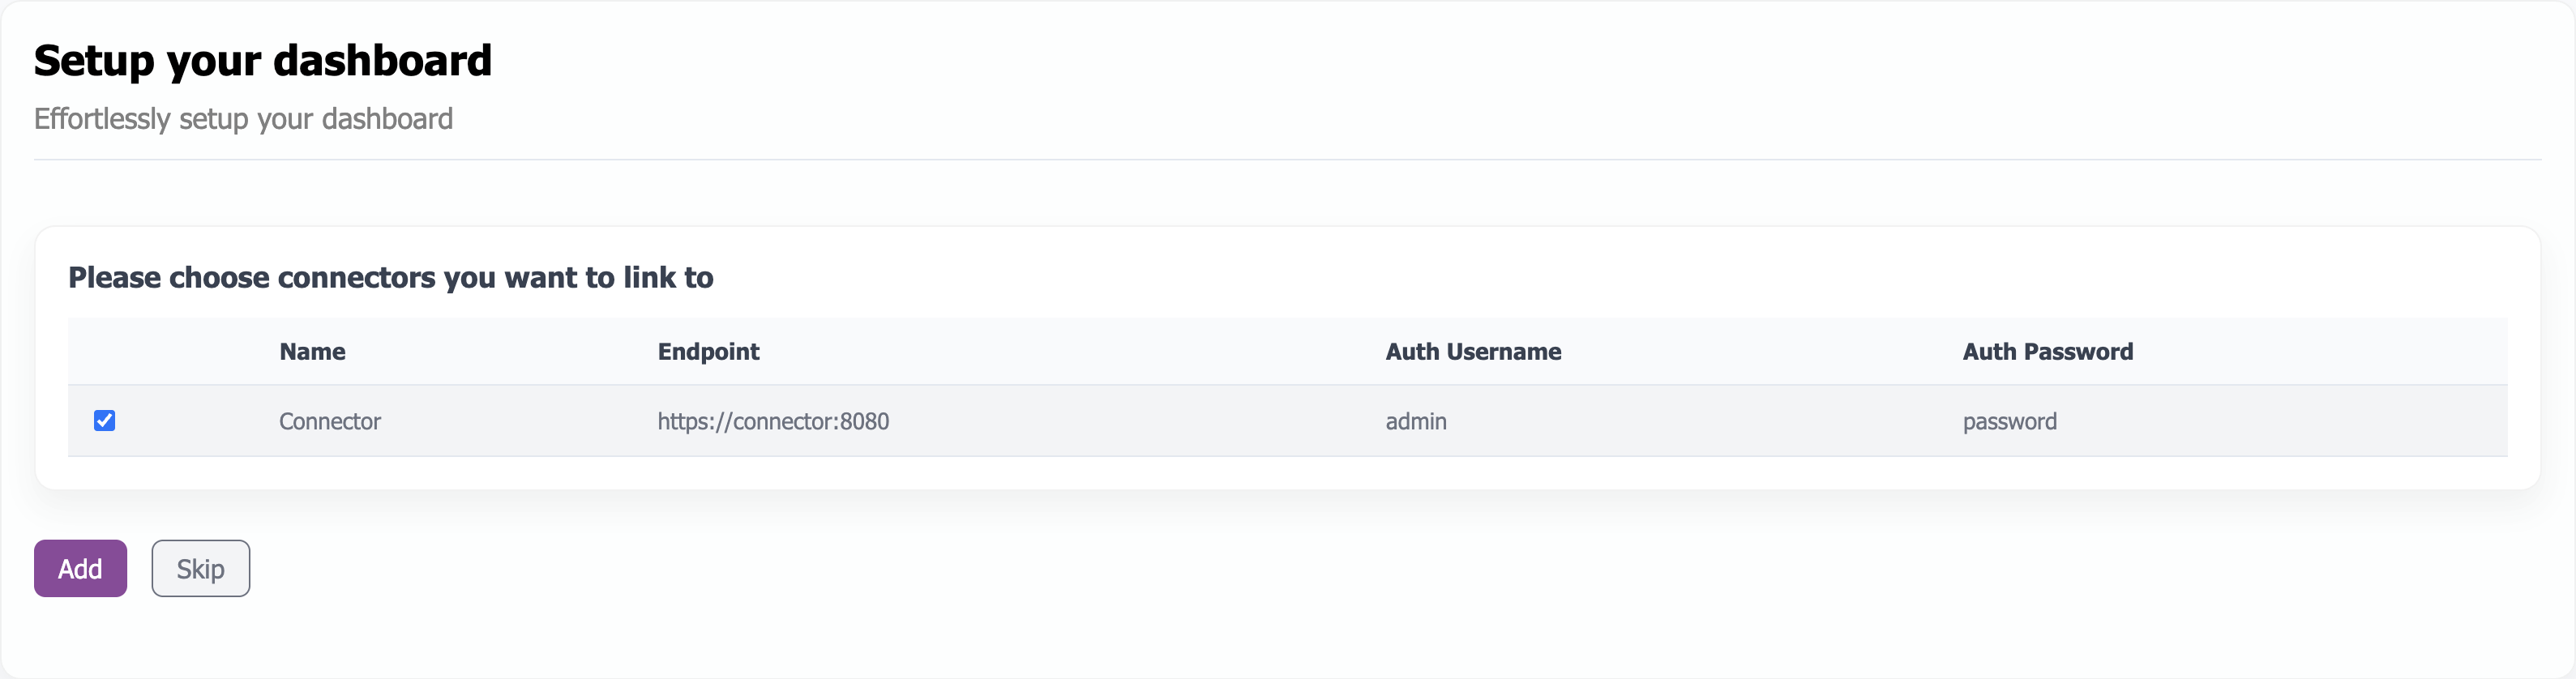
Page 2: Configure the connector using the pre-filled information, or edit fields if required. Select Add to continue.
-
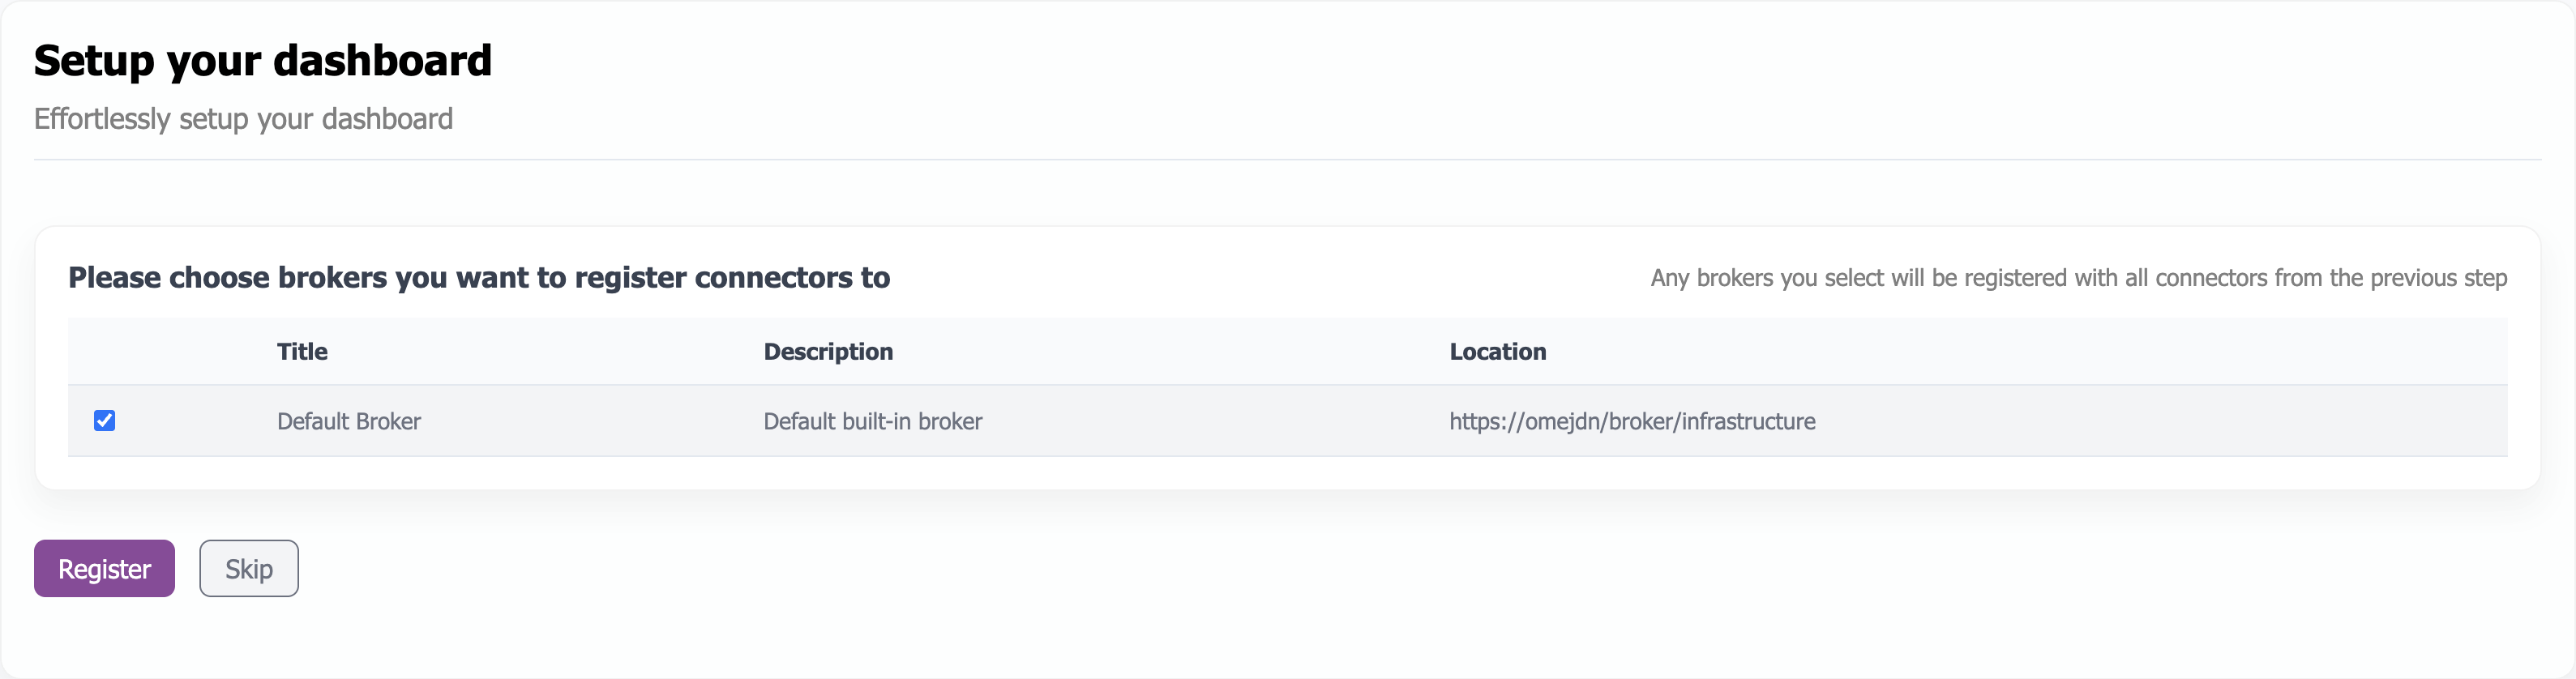
Page 3: Configure the metadata broker and register the connector to it. The default location connects to the broker at the same location as the DAPS. Alternatively, specify a different broker IP address.
-
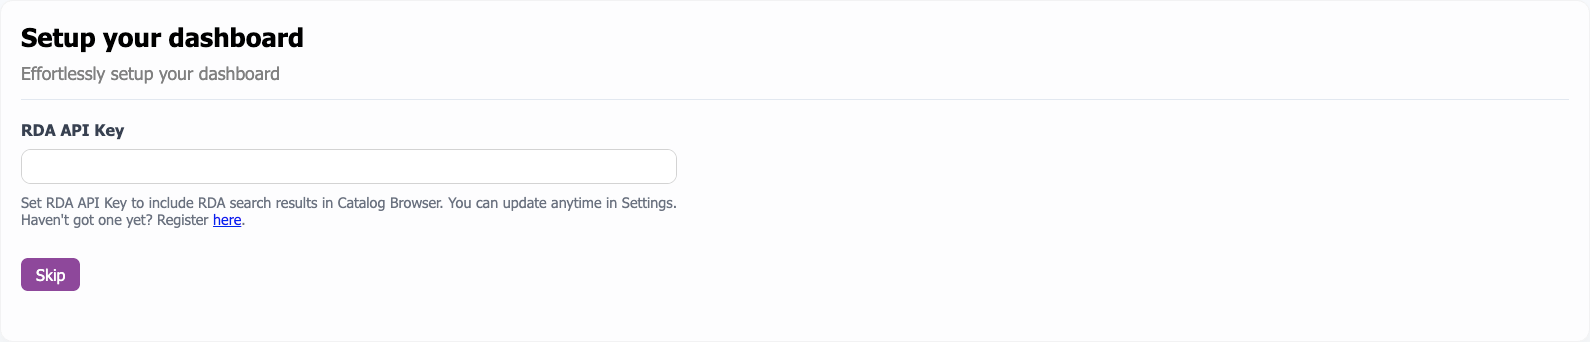
Page 4: Optionally configure your RDA API Key to search and include Research Data Australia results in the catalogue browser. Register a free API Key via the link provided, or skip this step and configure it later on the Settings page.
-
Page 5: Select Finish to close the setup wizard and begin using the dashboard.
